


LEDs for lightboxes and acrylic panels
Lightboxes and graphic panels have a range of applications.
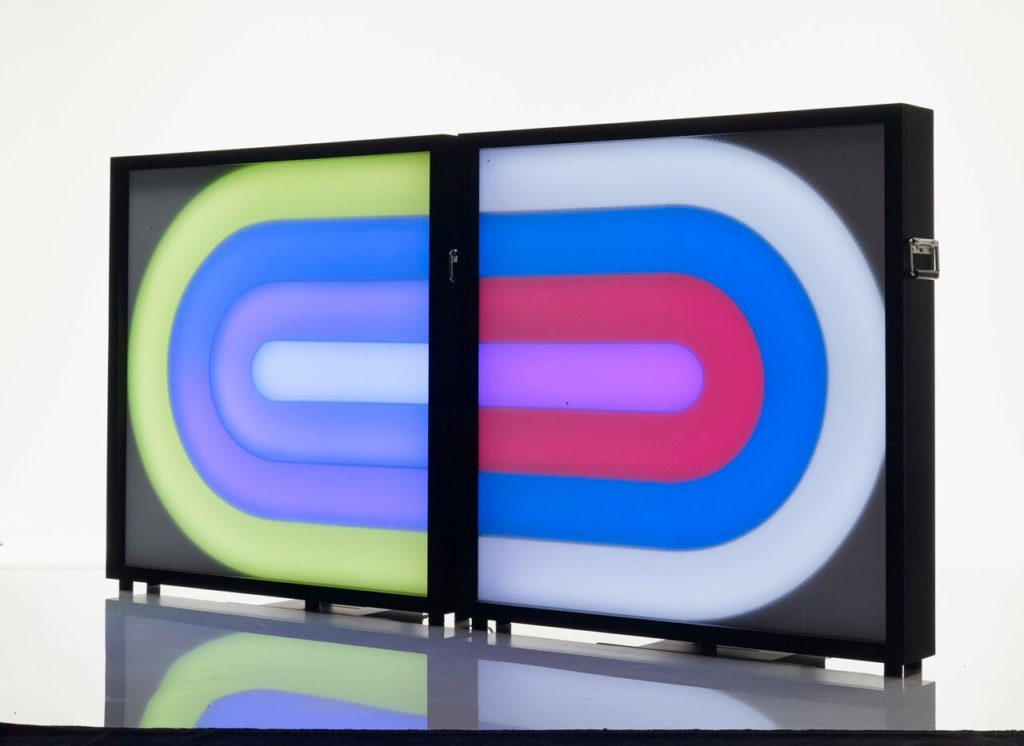
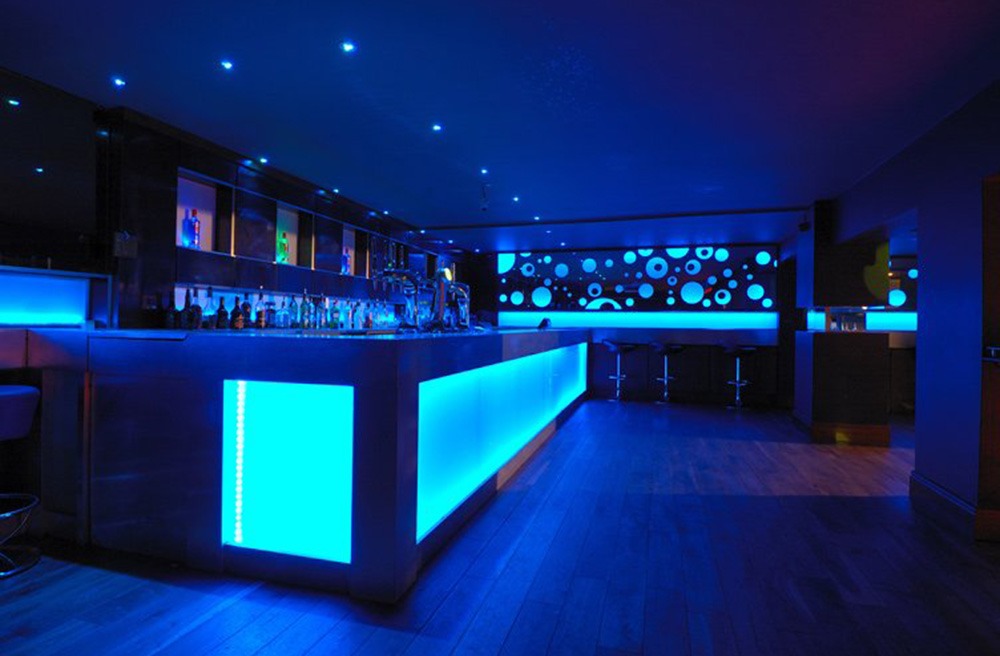
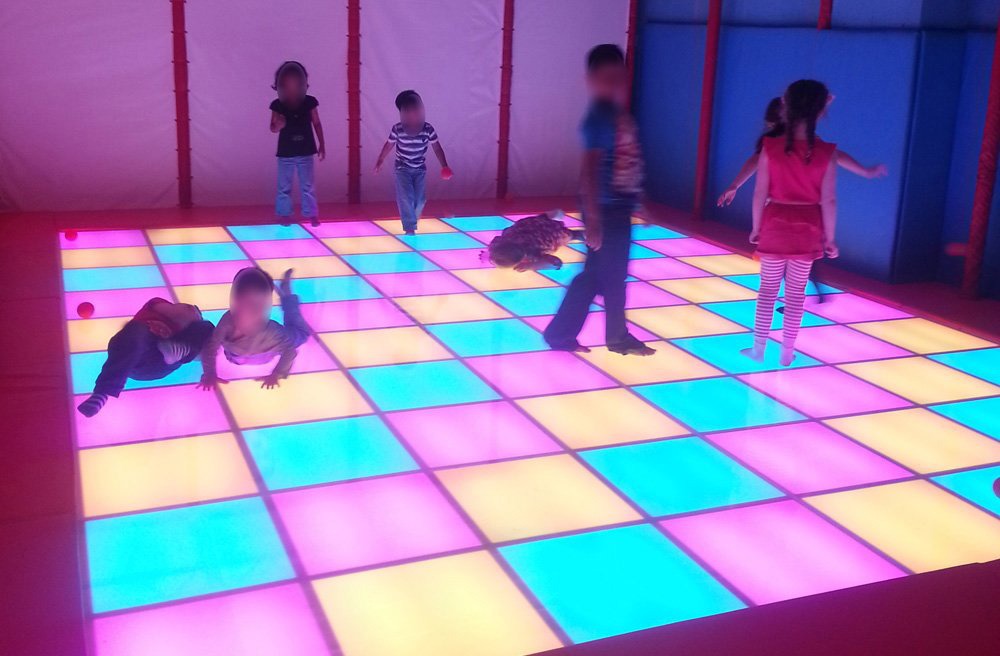
LEDs mounted behind glass or acrylic can create eye-catching effects that are ideal for exhibitions, display cases, brand advertising and even dancefloors.
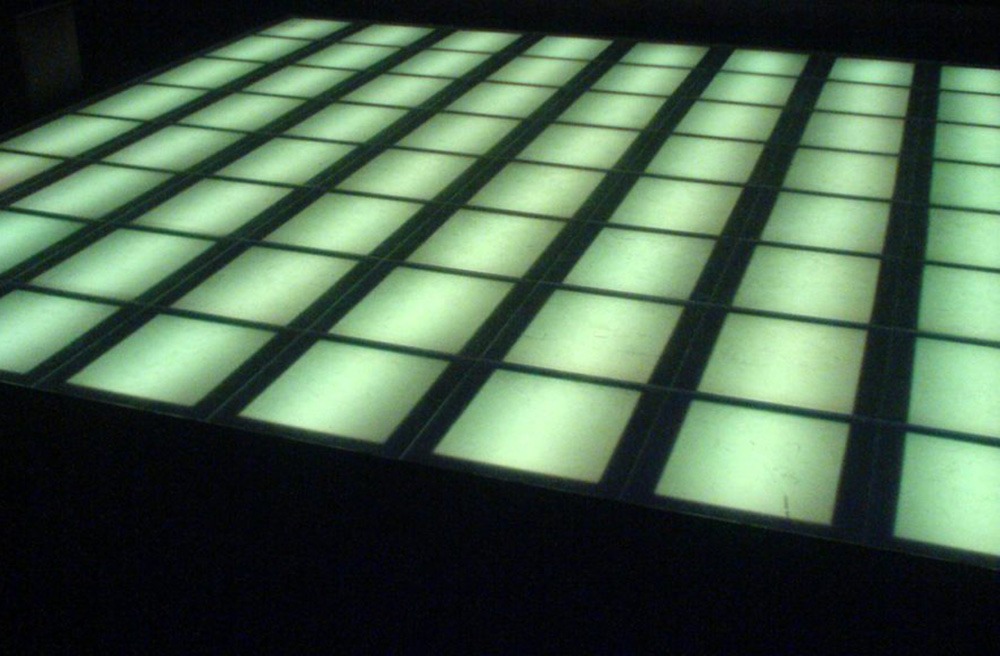
The key to a good LED lightbox is an even spread of illumination.
There should be no ‘dotting’ effect when the box is switched on; in other words, your individual LEDs shouldn’t be visible through the panel.
Depending on its size, you can light up your LED lightbox in two ways…
1. LEDs around the edge, shining in
For smaller lightboxes (0.5m x 0.5m or less), the best approach is typically to fit your LED tape around the edge of the box shining inward.
This tactic can be stretched to slightly larger sizes (maybe 1m x 1m) – although it will mean you’ll probably start to see light hotspots / dotting around the edge of the lightbox, even if you increase the brightness of your LEDs.
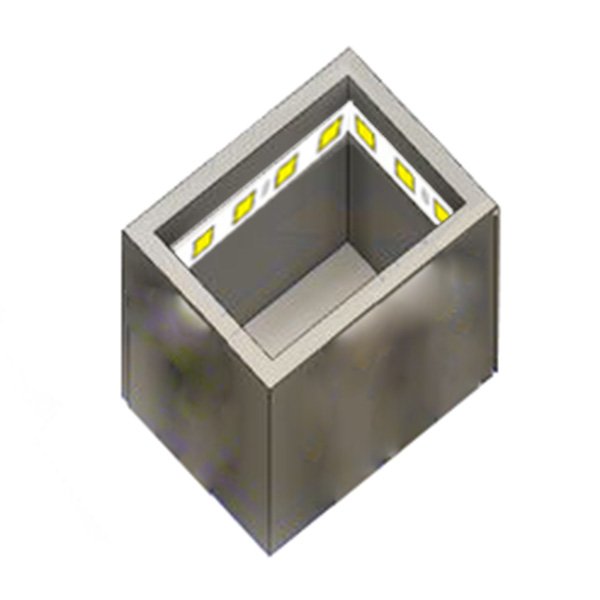
fig 1: LEDs around the edge of a lightbox, shining in
The depth of the lightbox (distance between the back of the box and the glass/acrylic panel) plays a part in how evenly the LED strips’ light appears.
We don’t advise the back of your lightbox be any less than 50mm from the front panel, as this would likely cause dotting/hotspotting and very little light travel.
Ambient lighting Tips
Ambient light also has a significant impact on the effect a lightbox can create.
For example, we’ve seen builds up to 2m deep that fully illuminate the lightbox’s interior, lighting up the acrylic panel very brightly. But they are installed in dark rooms, where their output is not diffused by other lighting.
(Even in such ideal conditions, a lightbox that large may still lead to lighting hotspots around the edge where the LEDs are located.)
Time for reflection
Finally, the colour of the box’s interior will affect the output as well. By painting the inner panels white, you’ll make the light of the LEDs reflect better, which will produce a brighter and more even effect.
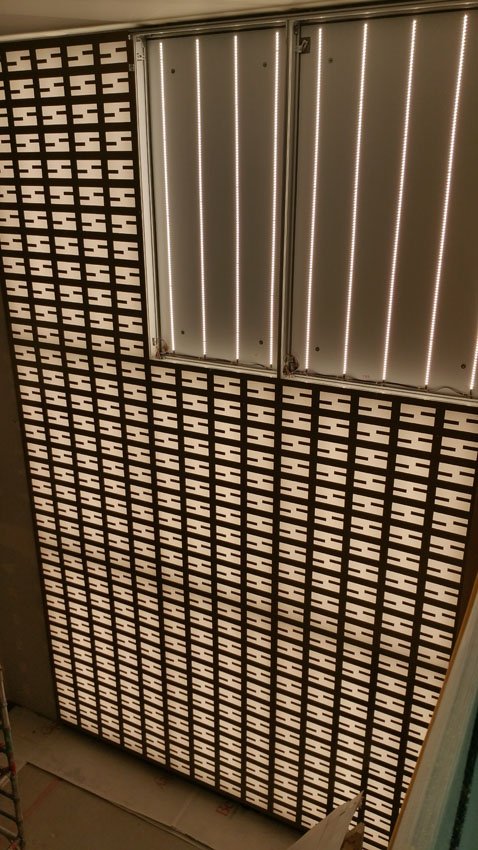
2. LEDs on the base, shining up/out
For larger lightboxes, you will achieve a better effect by fitting the LED strips to the inside back of the box (directly facing the acrylic front panel).
Lay the LED strips in parallel lines, edge to edge across the base.
Like this:
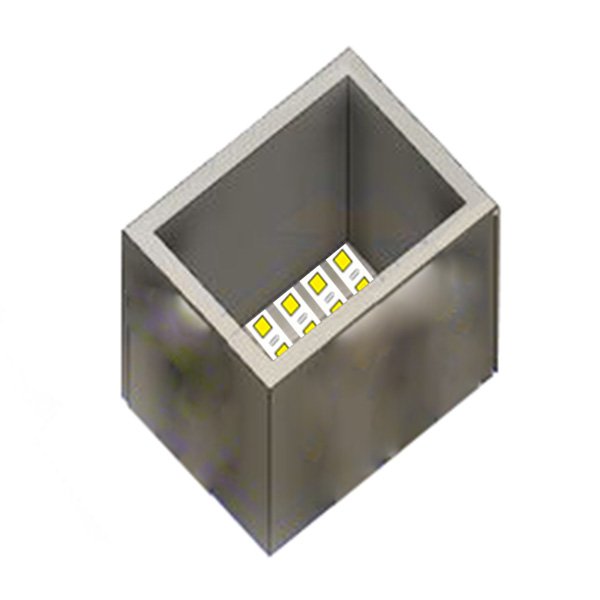
fig 2: LEDs on the base of a lightbox, shining up/out
Spacing between LED strips
The spacing between the strips depends on the depth of the light box, that’s to say the distance between the back of the box and the front panel. To be safe, we recommend the gap between your LED strips be the distance between the back of the box and the front panel, less 25% or so.
For example, if the lightbox is 100mm deep, the LED strips on the base should be spaced
100mm – 25%
= 75mm apart.
(In practice, you would probably get away with positioning the strips 100mm apart. But because no two acrylic panels are the same, going for 25% tighter spacing will ensure a nice, even lightbox effect for most builds.)
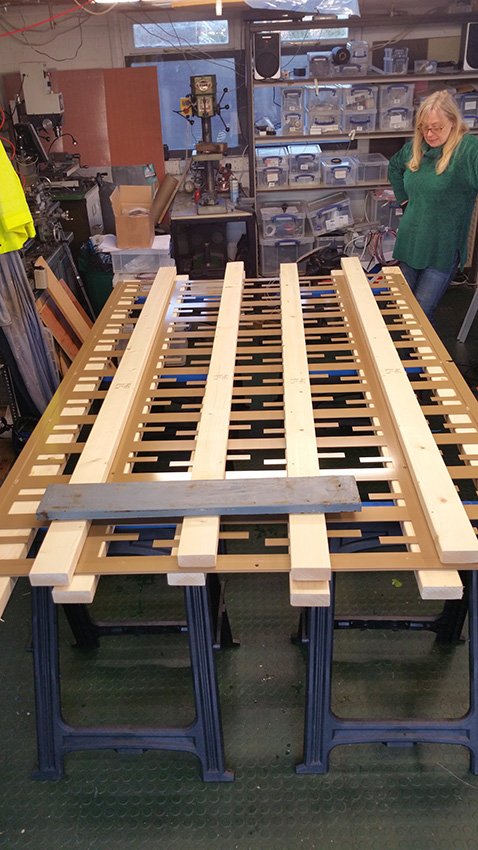
Lightbox Ideas
Acrylic LED lightboxes are an excellent way to pick up illumination while hiding the light-source from direct view.
They’re great for adding ambience to clubs, bars and back-bars. Residential applications include splashbacks for kitchens. And with colour-changing (RGB) LEDs, you can even apply the principles of lightbox construction to construct a beat-controlled dancefloor.

These recommendations apply to InStyle’s commercial-grade Epistar-branded LED strip lights. For lower-grade strip lights from elsewhere, adjust accordingly.