Following this step by step guide you will be able set up LED Tape and program them to Dim and Flash using the Arduino Uno open source electronic system.
In order to control the LED Tape you will need the following items:
- 12 volt transformer with the wire stripped back revealing the copper strands on both the Plus and Negative wires
- 12 volt transformer with the power connector still present
- Arduino Uno board
- Breadboard
- 5 Jumper Wires (various sizes)
- 1 Transistor
- 1 Resistor
- LED Tape
- USB Cable
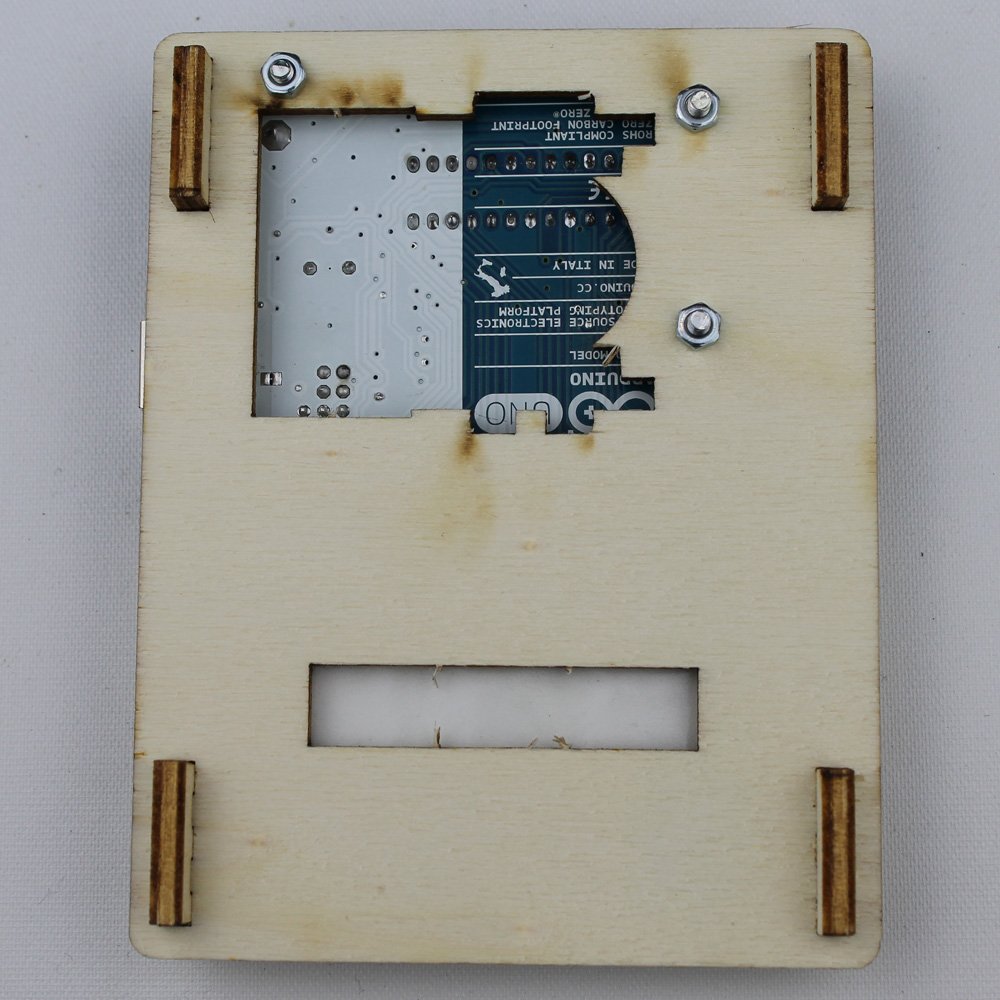
1. Items Needed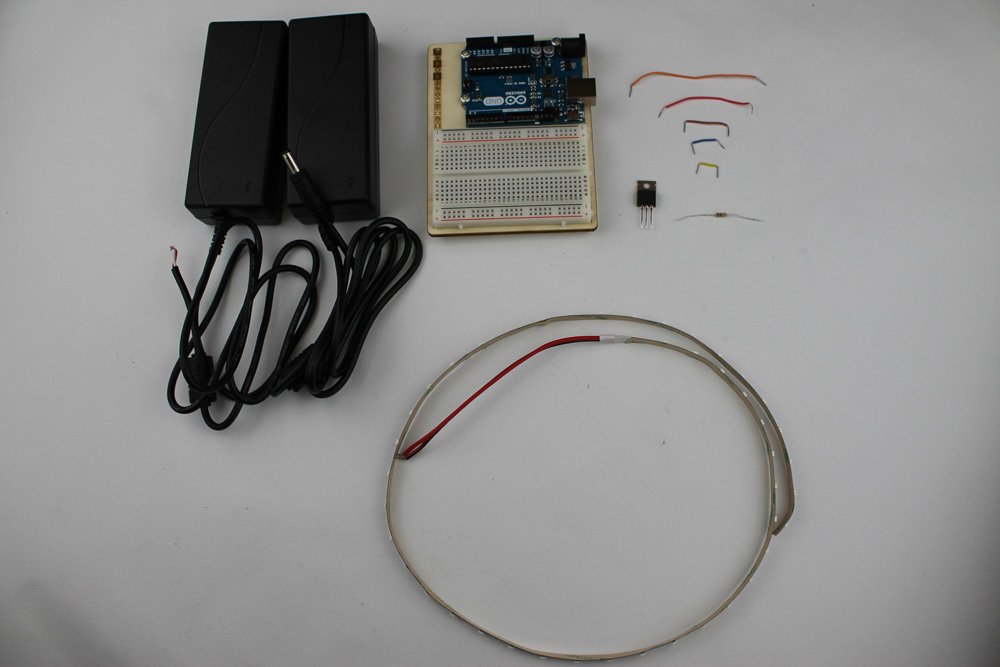 2. Join the Arduino Uno board to the Breadboard using screws and nuts: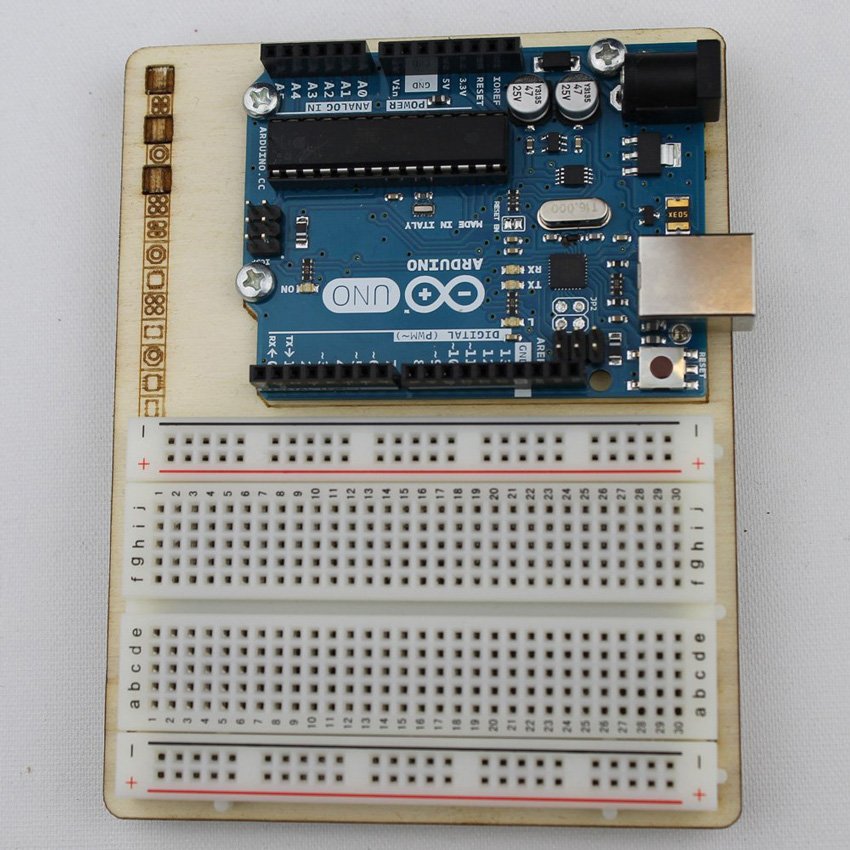
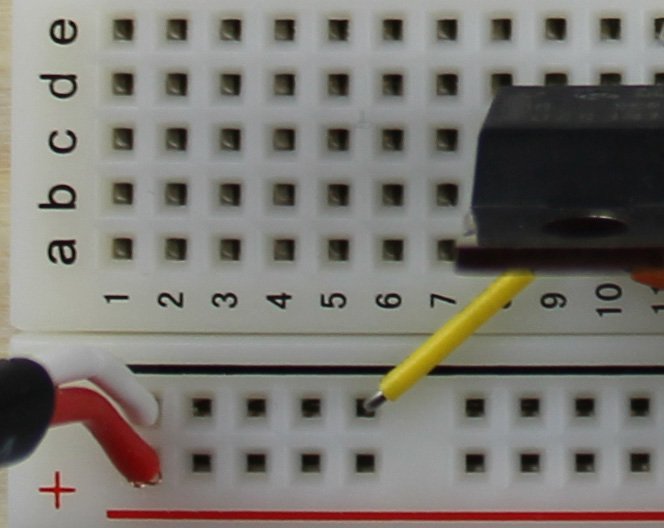
 3. Take the 12v Transformer with the stripped ends, twist the copper fillings tightly and place into the Breadboard in the + and – section at the bottom of the board (Red into the Red + and White into the Black –)
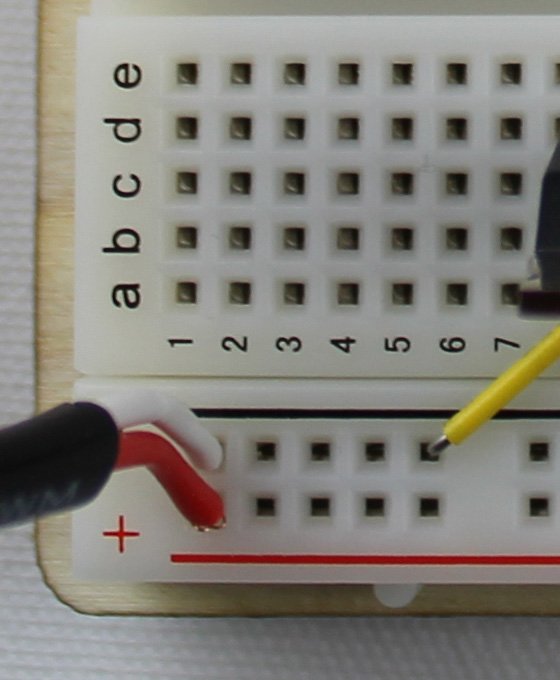 4. With the LED Tape place the Red + wire into slot A 28 and the Black – wire into A 30 on the Breadboard.
 5. Place the 30 mm Blue Jumper Wire from the + section to B 286. Place the Transistor in section C 9, 10 and 11
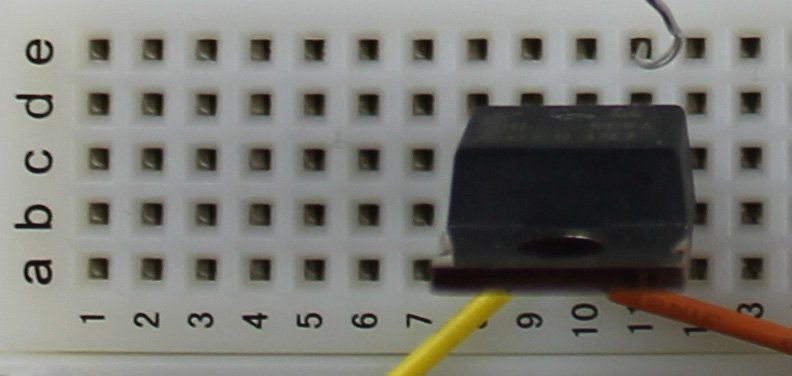 7. Place the Resistor in section E 11 to H 11
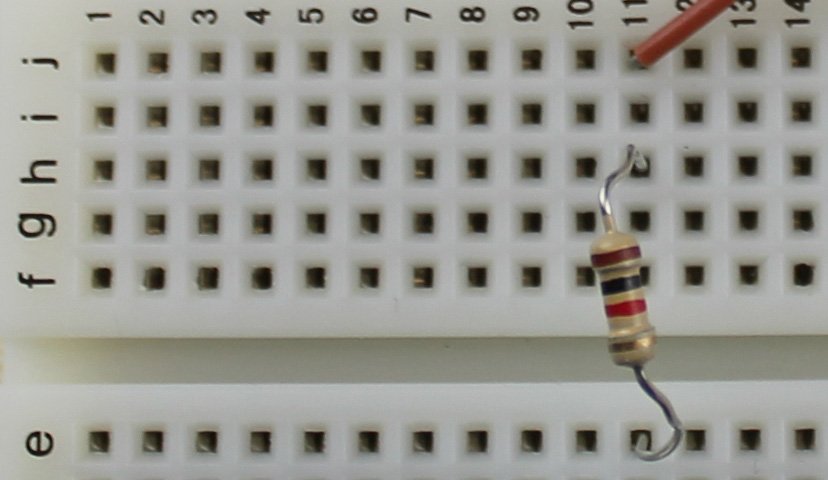 8. Place the 40 mm Brown Jumper Wire from the Breadboard section J 11 to the Arduino Uno slot 9
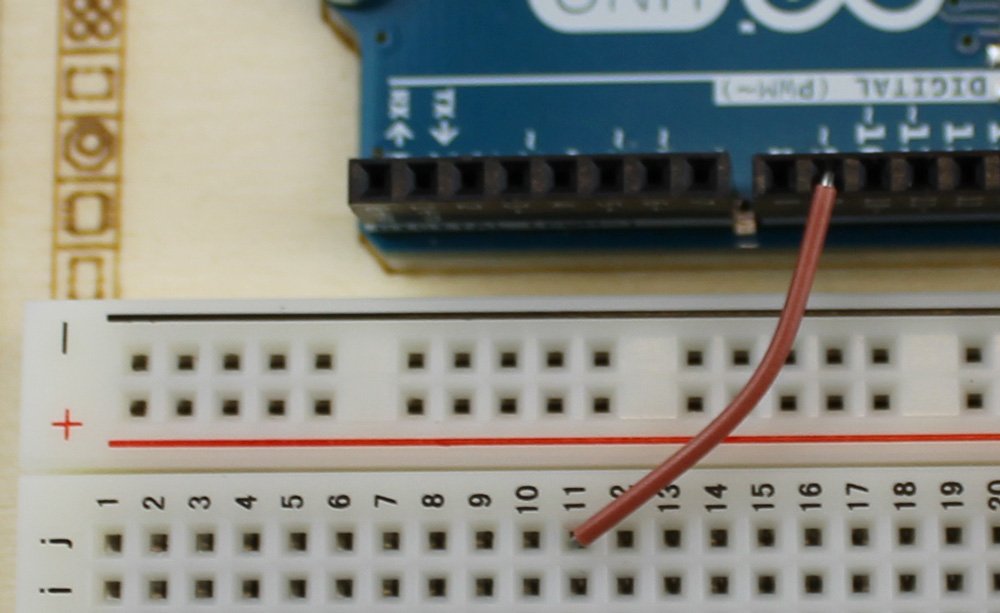 9. Place the 90 mm Orange Jumper Wire in section A 10 to B 30
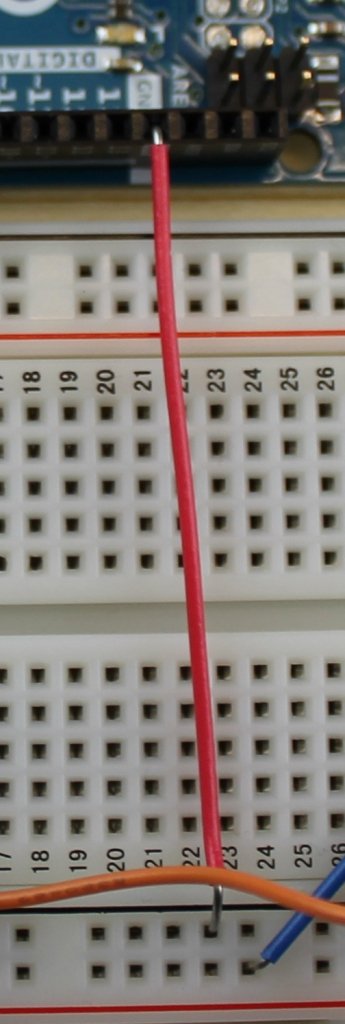
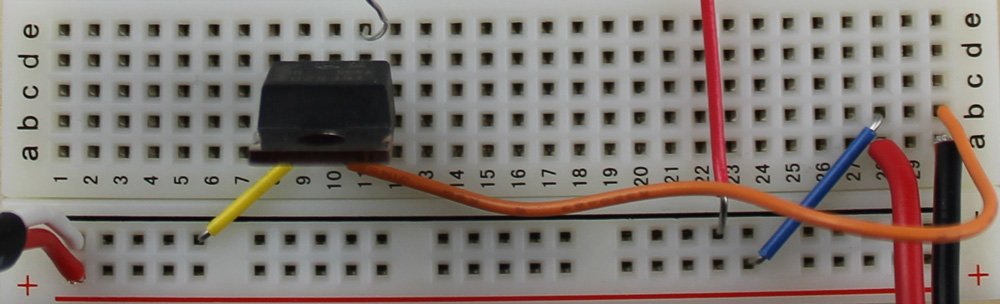 10. Place the 65 mm Red Jumper Wire from the Breadboard – section at the bottom of the Breadboard to the Arduino Uno GND slot
 11. Place the 25 mm Yellow Jumper Wire from the – section at the bottom of the Breadboard to section A 9
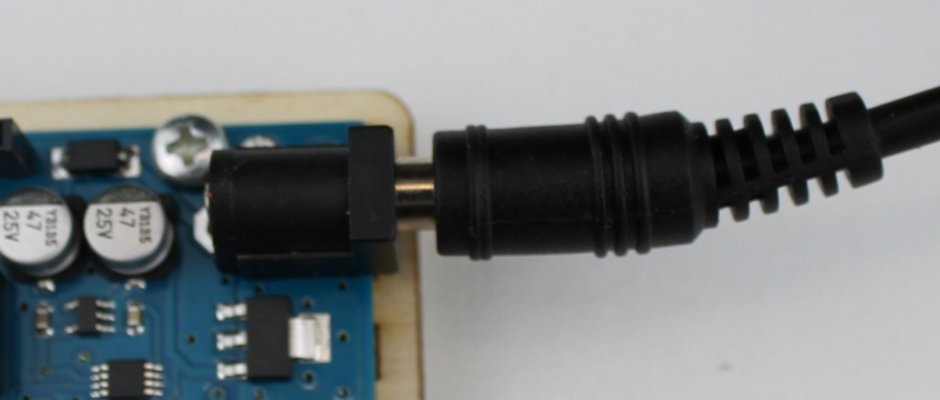
 12. Take the 12v Transformer with the power connector and insert into the Arduino Uno power input and turn power on.
 13. Download the software from the Arduino site and install the software.14. Once installed open the app you will be greeted by this window:
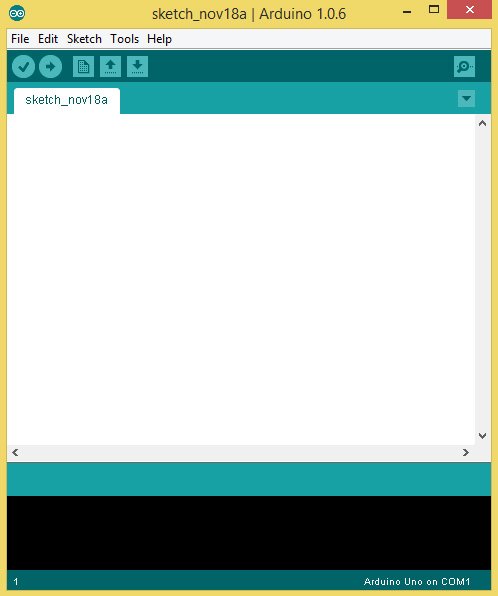 15. Copy and paste this code into the window which will let you dim LED tape.
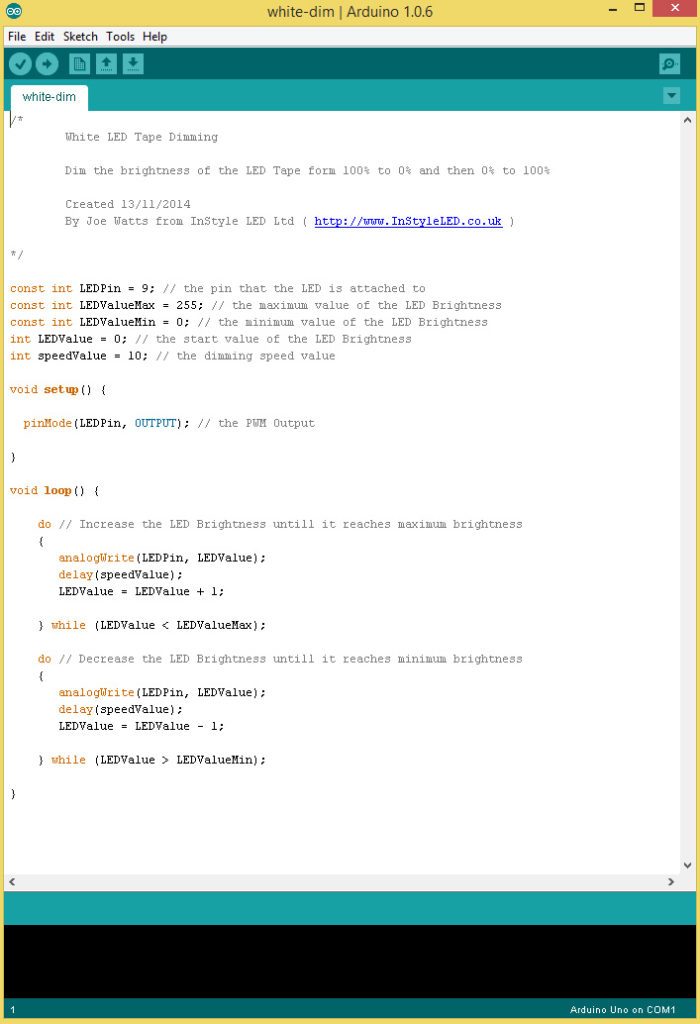 /*
/*
White LED Tape Dimming
Dim the brightness of the LED Tape form 100% to 0% and then 0% to 100%
Created 13/11/2014
By Joe Watts from InStyle LED Ltd (www.InStyleLED.co.uk)
*/
const int LEDPin = 9; // the pin that the LED is attached to
const int LEDValueMax = 255; // the maximum value of the LED Brightness
const int LEDValueMin = 0; // the minimum value of the LED Brightness
int LEDValue = 0; // the start value of the LED Brightness
int speedValue = 10; // the dimming speed value
void setup() {
pinMode(LEDPin, OUTPUT); // the PWM Output
}
void loop() {
do // Increase the LED Brightness untill it reaches maximum brightness
{
analogWrite(LEDPin, LEDValue);
delay(speedValue);
LEDValue = LEDValue + 1;
} while (LEDValue < LEDValueMax); do // Decrease the LED Brightness untill it reaches minimum brightness { analogWrite(LEDPin, LEDValue); delay(speedValue); LEDValue = LEDValue - 1; } while (LEDValue > LEDValueMin);
}…Or you can download the code file here.16. Click File > Save As (Ctrl+Shift+S) and save this code and name it ‘white-dim’.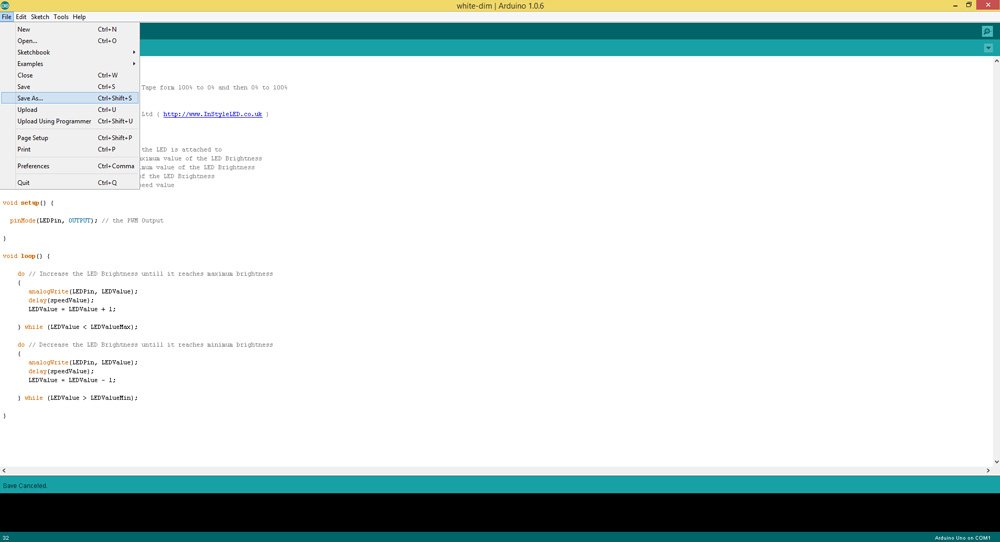 17. Plug in the USB cable in the Arduino Uno and then into your PC.
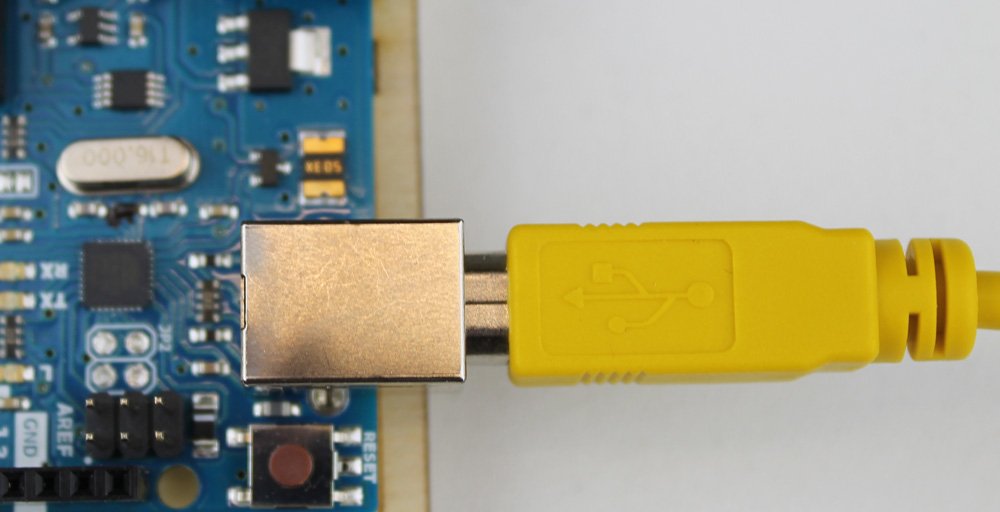 18. The app will read that it is there and will select the right programmer, to make sure select Tools > Programmer > AVRISP MKII
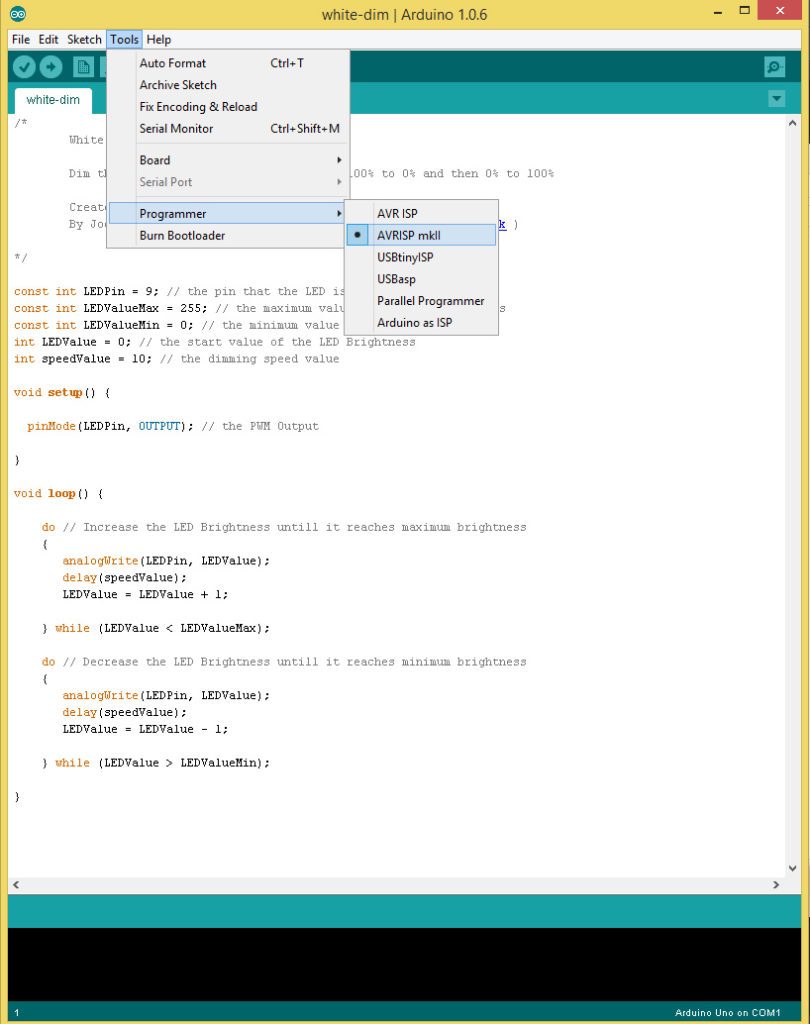 19. Click the Upload button and it will upload the code to the Arduino Uno.
 20. The process is now complete and the LED tape will now be controlled by the code running – doing what you have asked it to do.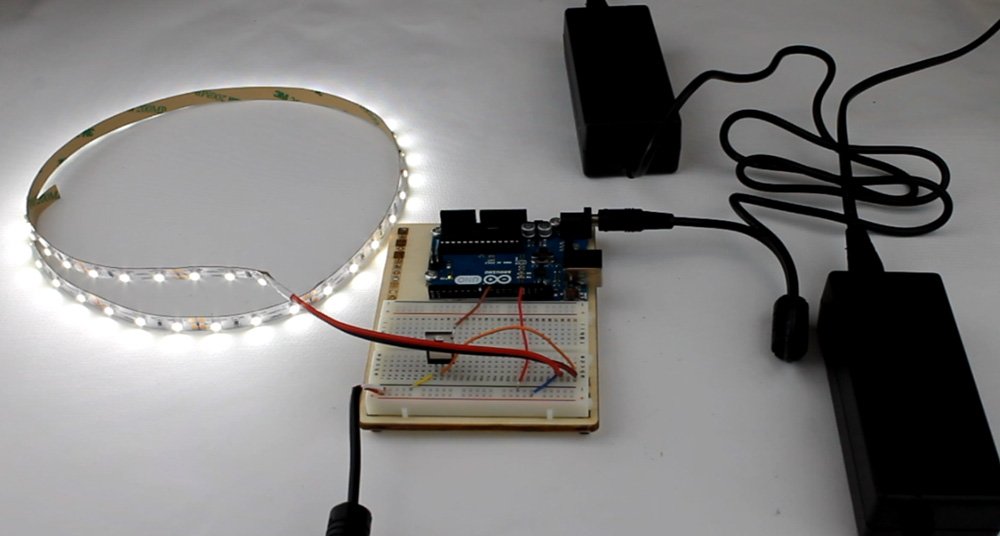
To have the LED Tape flashing you use this code:
/*
White LED Tape Blinking
Turn the LED Tape on and off at a chosen speed
Created 13/11/2014
By Joe Watts from InStyle LED Ltd (www.InStyleLED.co.uk)
*/
const int LEDPin = 9; // the pin that the LED is attached to
int ledValueMax = 255; // the maximum value of the LED Brightness
int ledValueMin = 0; // the minimum value of the LED Brightness
int blinkSpeed = 10000; // the blink speed in milliseconds
void setup() {
pinMode(LEDPin, OUTPUT); // the PWM Output
}
void loop() {
analogWrite(LEDPin, ledValueMax); // Turn LED To maximum brightness
delay(blinkSpeed);
analogWrite(LEDPin, ledValueMin); // Turn LED To minimum brightness
delay(blinkSpeed);
}…Or you can download the code file here
Here is an video of the whole set up and the result: