


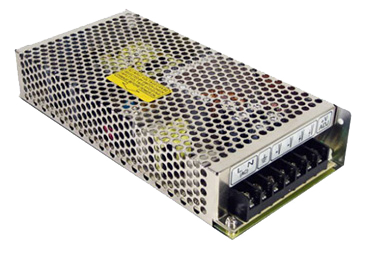
- A transformer for your LED tape. You will need to make sure you have the right size transformer to power the amount of LED tape you are planning to use.
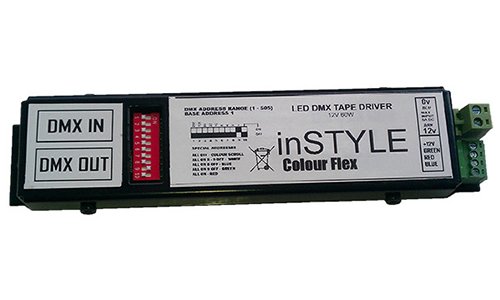
- You will also need a DMX receiver. These come in a variety of sizes and power ratings, so again you will need to check that you have the right receiver for the amount of LED tape you need to control. The main advantage of DMX is that you can link multiple DMX receivers together, to be managed by a single controller. With some controllers, you can also select each DMX receiver individually – giving you complete control over the LED tape wired to that DMX receiver.
- Finally you will need the DMX controller itself. There are various types – from wall mounted controllers to PC desk controllers.
Step 1:
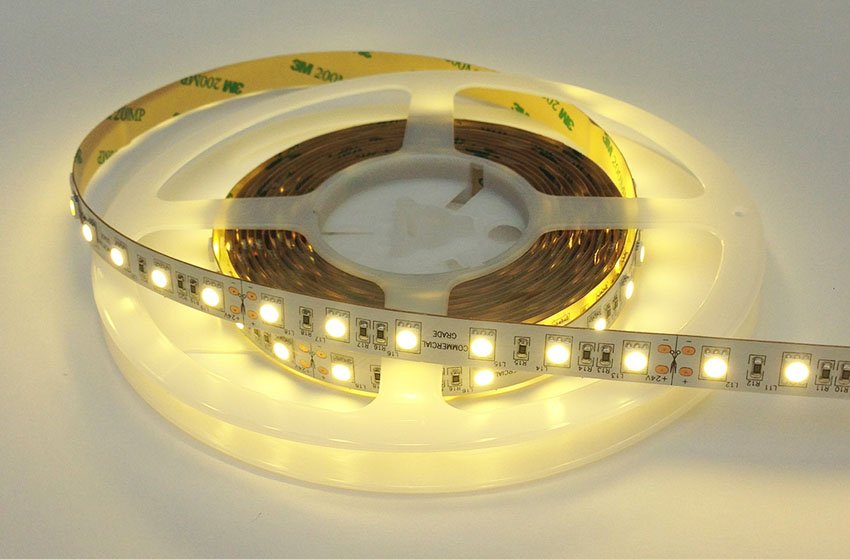
Start by choosing where you would like your LED tape positioned and how much tape you’ll need for each area. Decide whether you want to control all areas together (with the same brightness and other light settings), or have the option of controlling each area individually.
Step 2:
Decide if a DMX controller is right for your project. If you have a small LED tape installation then you may not want a complicated controller, and prefer a small wall controller that’s easy for anyone to use. But if you want each area controlled individually then a PC-based DMX controller may be more suitable, as they offer far more control.
Step 3:
Now select the size (wattage) of transformers and DMX receivers that you will need for each area of LED tape. Wire up all the components, as shown on their wiring diagrams.
Step 4:
Connect your LED tape to your chosen DMX controller, via your DMX receiver(s). To do this:
- wire from the DMX controller to the first DMX receiver
- if you have more then one DMX receiver, then link them together in daisy chain from one to the next, using their DMX output terminals
- the DMX output of the last DMX receiver should be left blank.
To connect the DMX controller and receivers, use Cat 5 cable or 3-pin XLR cable (for older controllers). These cables will carry the DMX controller signal.
Step 5:
Set up the DIP switches on the receiver(s) to work with your DMX controller.
If you have chosen a standard wall controller, you would typically set each receiver’s DIP switch to DMX channel ‘1’. Once that’s done, all the receivers will be synchronised with one another, and with channel ‘1’ on your DMX controller.
With a PC-desk DMX controller, you should set up each DMX receiver to have its own channel. To do this, set each one to a different channel value by altering the DIP switches on the side of all the receivers. (If you had 50 receivers, then you could set each one to a number from 1-50.)
The DIP switches on a receiver set the receiver’s DMX channel (values from zero to 511) using binary code. This means you can control up to 512 DMX channels independently of each other.
To calculate the DIP switch settings you need for a particular channel, you can work out the binary code yourself or simply use our DIP switch calculator that will instantly tell you the setting you need. Simply enter the channel number you need in the box below:
Step 6:
You now have full control over your LED tape through your DMX controller. Depending on the controller you’ve selected, you will be able to select from a wide range of colour options, time delays and lighting effects.