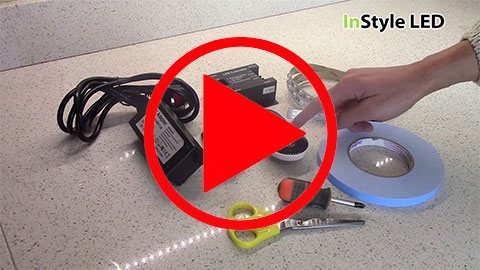
Why not fit LEDs in your own kitchen? This blog tells you what you need to know in order to achieve great feature lighting easily, using an LED tape / controller plug & play kit.
Here’s how to install your LED tape plug & play kit. You’ll need the following equipment:
- RGB Wireless Controller and Receiver
- RGB LED tape – cut to length by InStyle
- A plugin transformer
- Screwdriver
- Double-sided backing tape
Now you’re ready to get started:
- Begin by wiring your transformer to the controller receiver. (Be sure to run the positive cable to the ‘+’ pad, and the negative cable to the ‘–‘ pad.)
- Now wire your RGB LED tape to the controller receiver’s output. Black cable goes to ‘V+’, red goes to ‘R’, green goes to ‘G’ and blue goes to ‘B’.
- Next, cut and peel your double-sided backing tape, and apply to the transformer and the controller receiver. Then stick both units into place, out of sight.
- It’s time to install your RGB LED tape now. So peel the backing from your LED tape… and stick it into position.
- …And you’re ready to plug the transformer into a standard wall-socket and switch on your LED lights.
Now you can light up and see the results! You can now adjust and control the LEDs using your wireless remote controller.
For more great tips and ideas, why not check out our YouTube channel?
