


Tools:
- Screwdriver
- Flat Head Screwdriver
- 2 Core Cable
- RGB LED Tape
- 3 Batteries
- WCZ Receiver
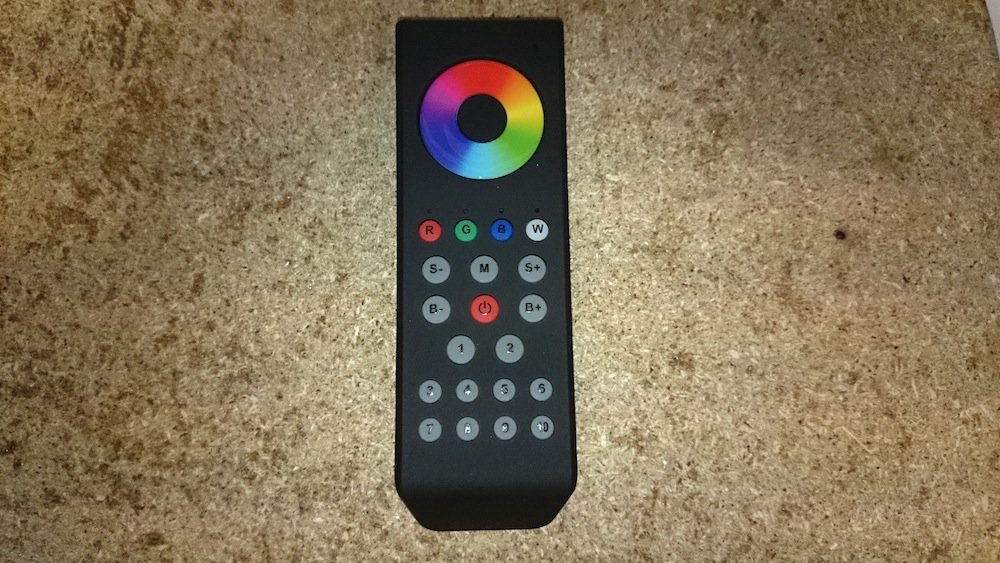
- Wireless Remote
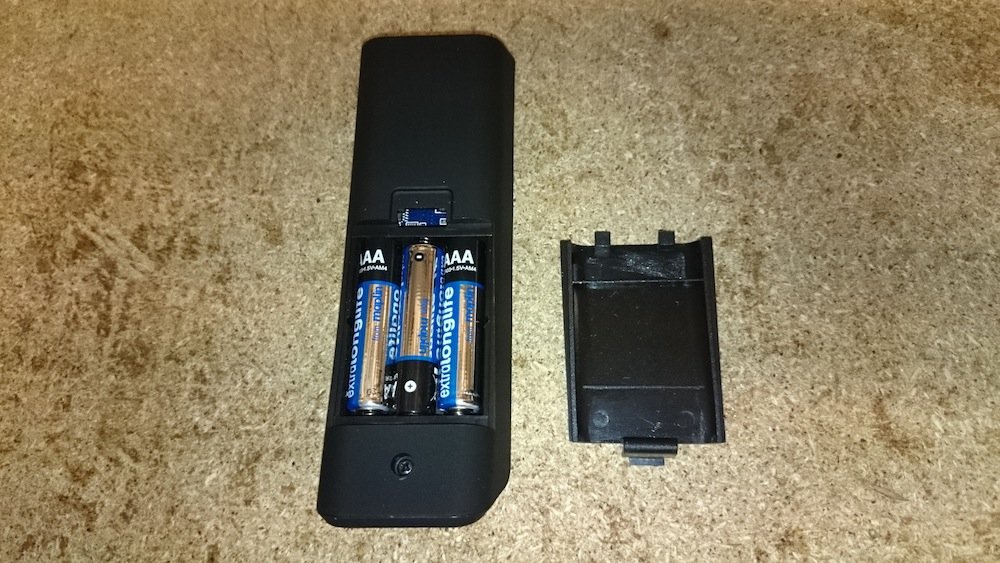
1. Take the wireless remote out of the box and take the protective sleeve off, turn it over and open the lid and place the 3 batteries into the correct positions.
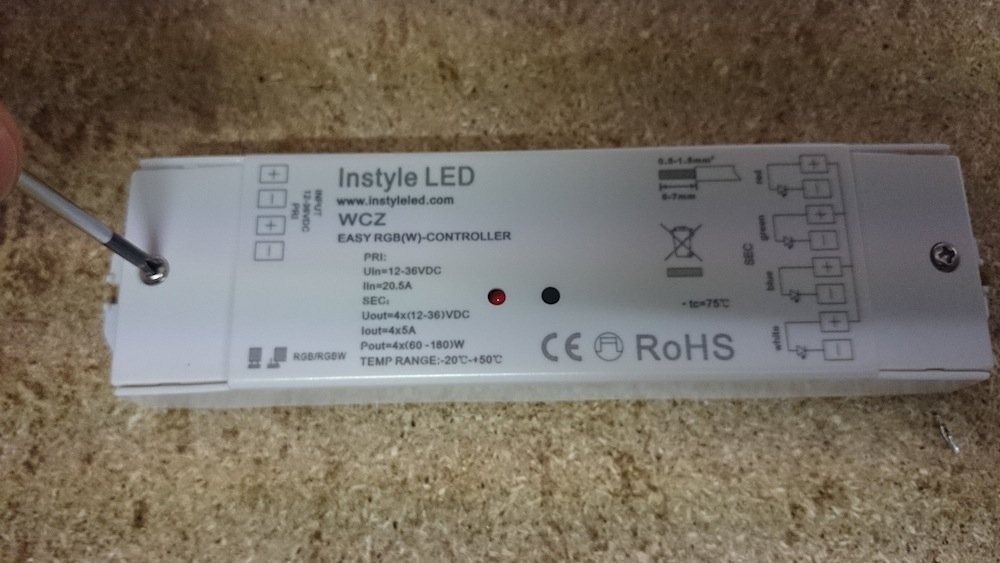
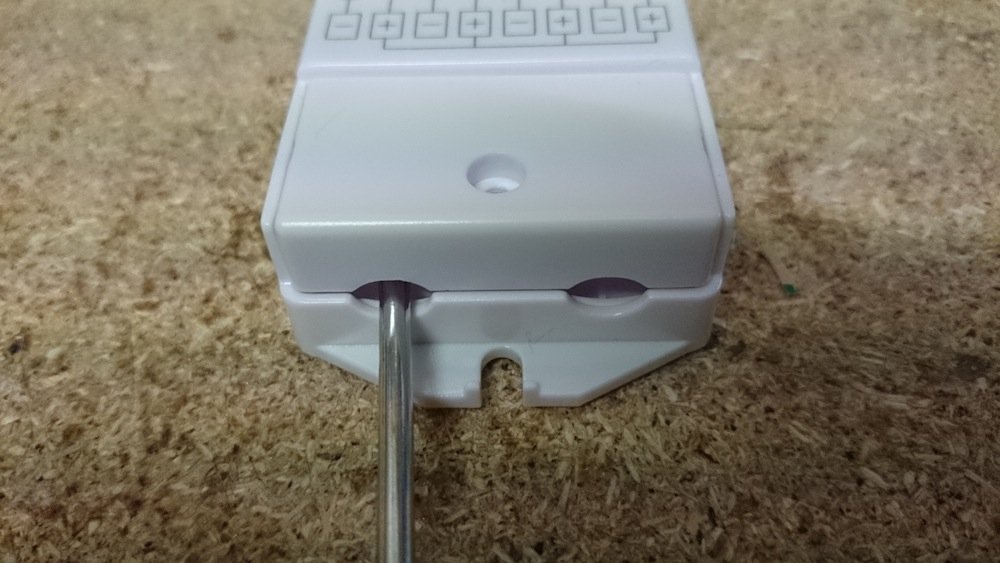
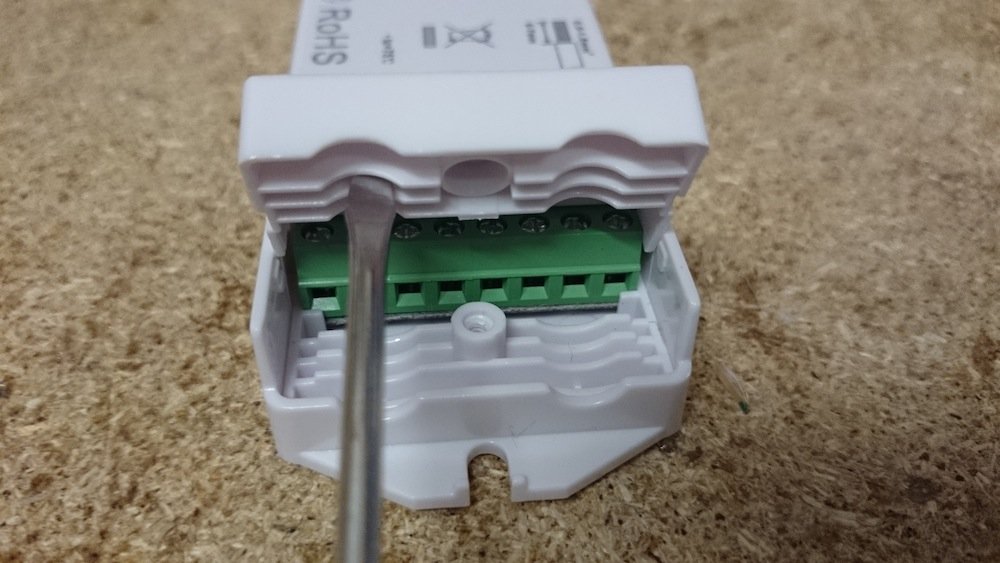
2. Now unscrew the two screws which are holding down the plastic lids. Once the screws have been taken out use the flat headed screwdriver to take off the lids by placing the head into the small gaps on the sides (see photo below). Repeat this on the other side as well so both lids have been taken off.
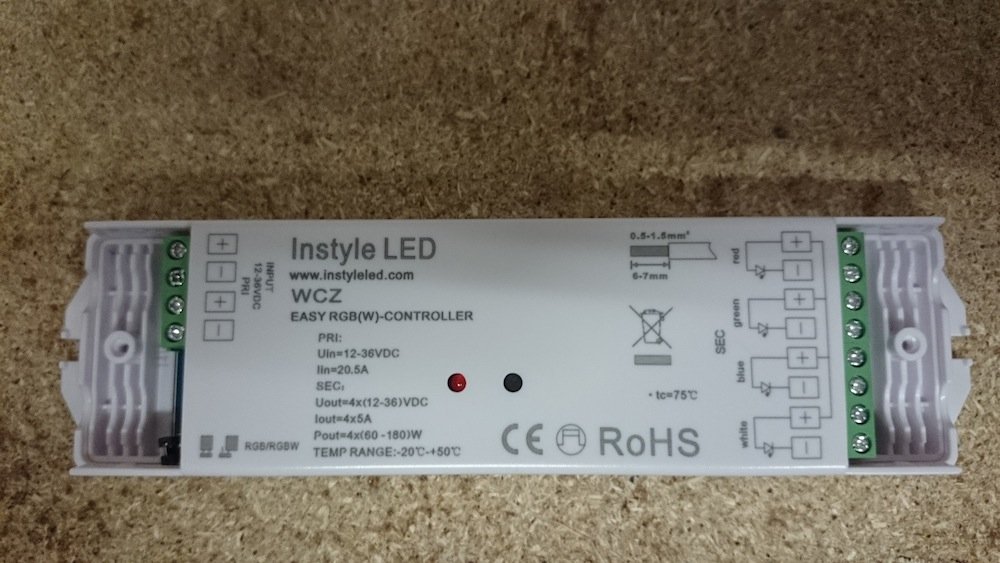
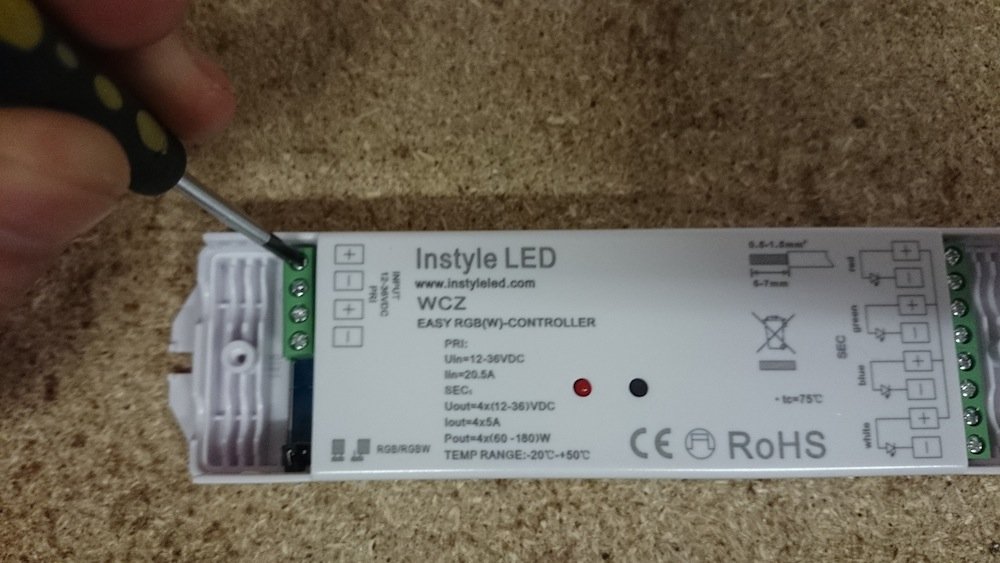
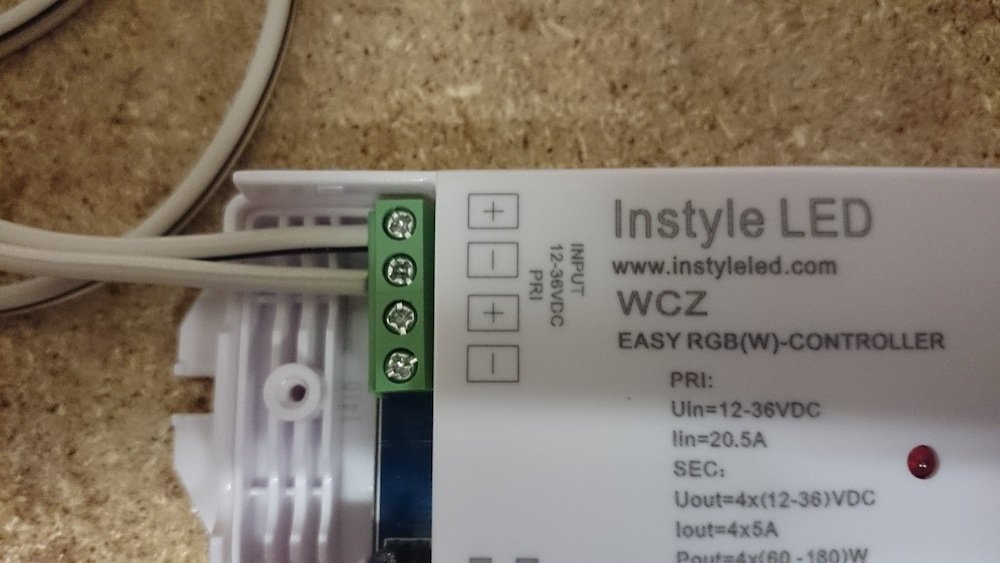
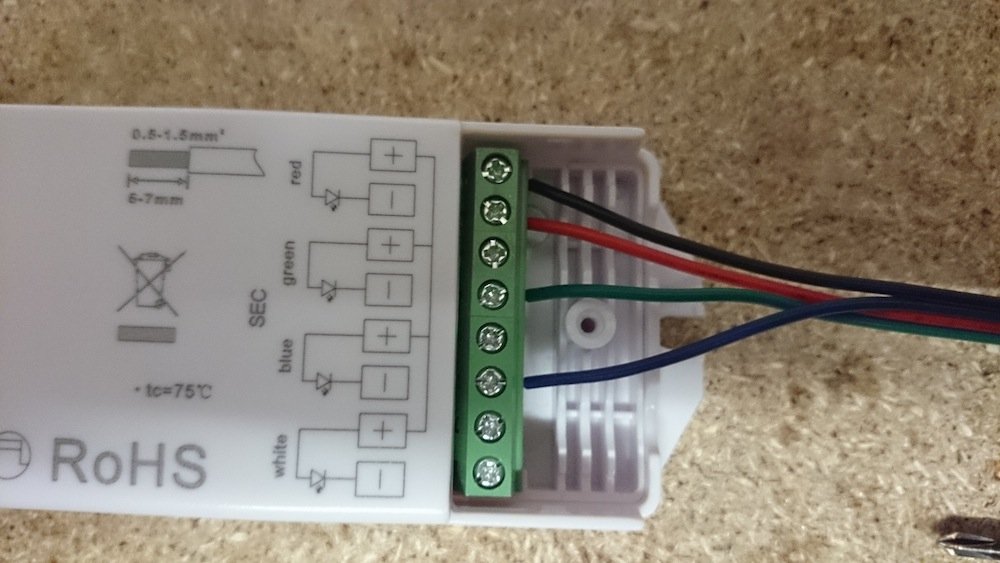
3. On the left there are 4 connections for the power input, unscrew a + and –. Now take your 2 core cable and place the correct wire into each connection (Red/Brown/White stripe = +, Black/Blue/White = –)
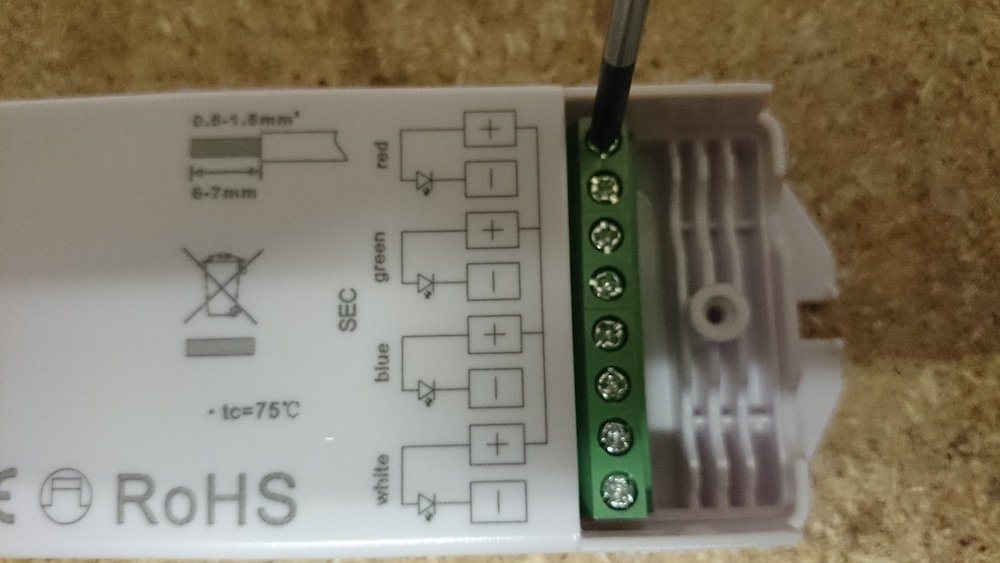
4. On the right hand side unscrew the + and – on the Red channel, and then the – on Green and Blue. In the Red channel place the Black cable in the + connection and the Red wire in the – connection. In the Green channel place the Green cable into the – connection, In the Blue channel place the Blue cable into the – connection.
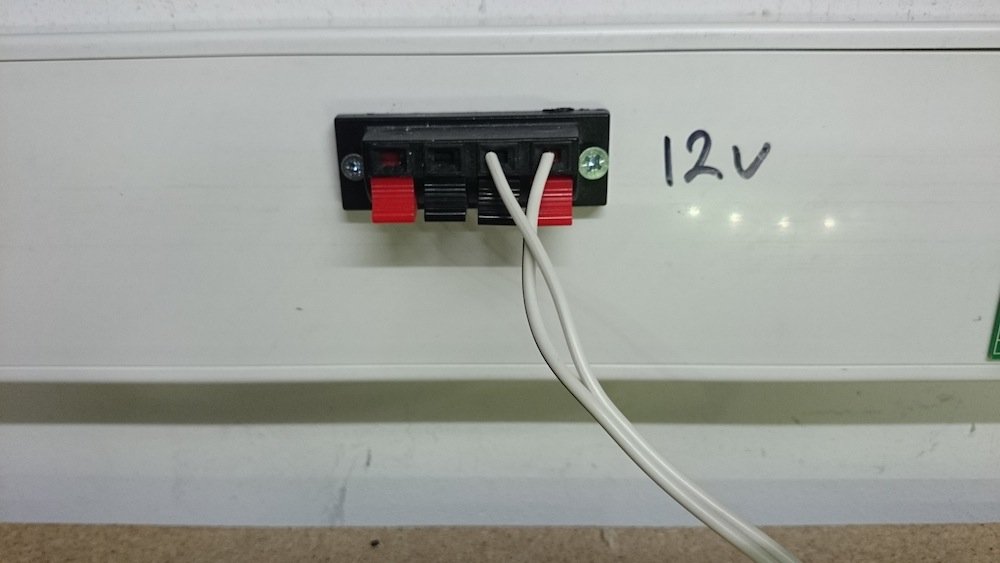
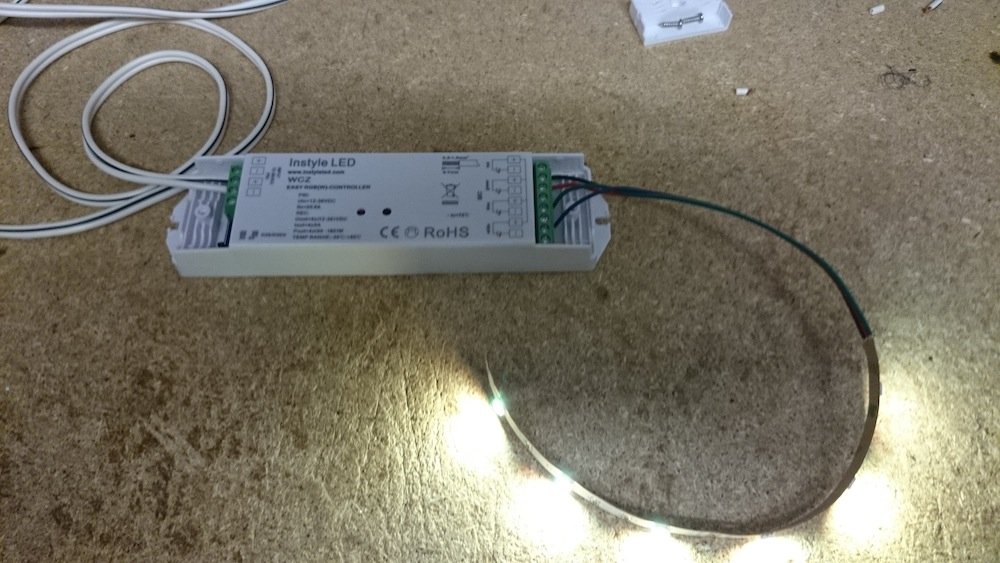
5. Place the 2 Core cable into a power source matching the voltage of the LED tape connected. The LED tape will now light up.
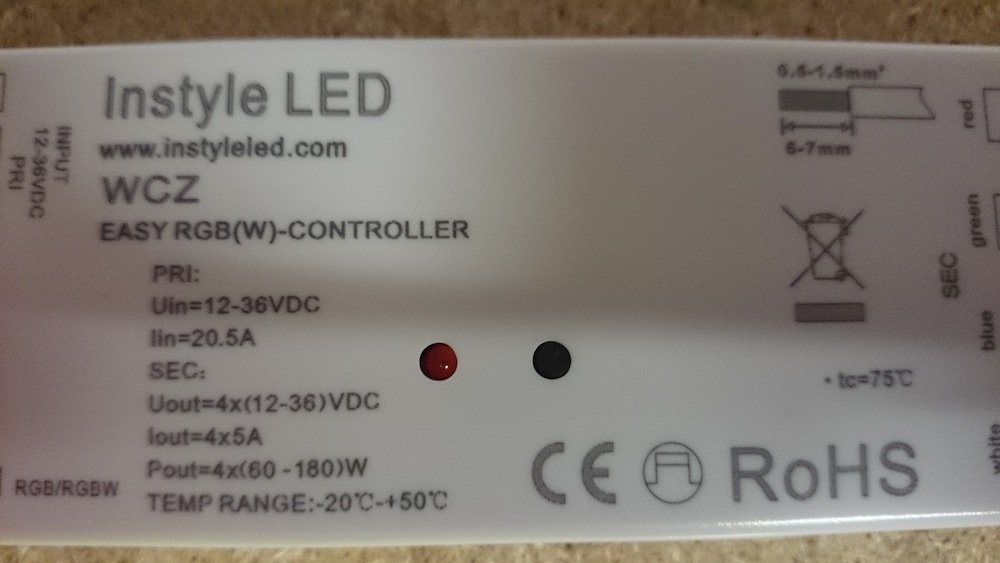
6. In the middle of the receiver there is a Red LED and a Black button. Press and hold the button down until the Red light turns off.
7. Now with the wireless remote
-
Press the Red power button in the middle
-
Press the Black button on the receiver again
-
On the remote press the 1 button which is just below the Red power button, this will now sync the remote with the receiver.
-
Press the 1 button again and then use the colour scroller at the top of the of the remote to to scroll through the colours.
-
For other channel set ups use the same process but change the number.
8. To test everything is working and choose colours and modes you want.
-
The Red, Green and Blue buttons will select those colours
-
The coloured scroll at the top will cycle through the different colours
-
The S+ S-, B+ B- cycles through the different modes and brightness