


Soldering LED tape connections can look like a daunting task. You might be anxious about burning the tape, or wiring it incorrectly. But don’t worry, it’s easy than it looks to cut, extend and test your strip lights. With this step-by-step guide for both 2-core White LED tape and 4-core RGB LED tape, you will be able to do a great job without any problems.
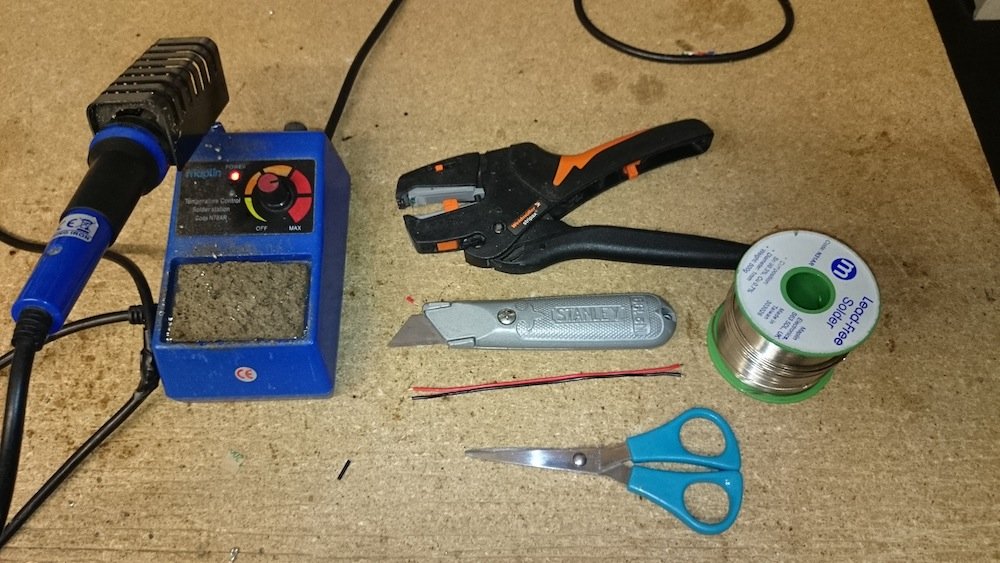
Tools you will need:
- Solder
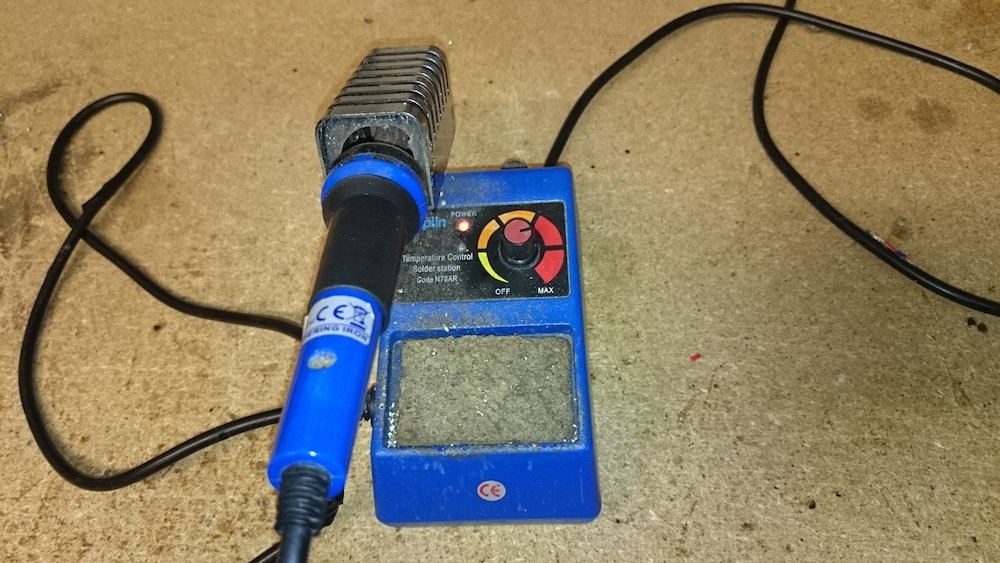
- Solder Iron
- Cable
- LED Tape
- Wire Cutters
- Knife
- Scissors
Soldering Cable to Tape:
1. Turn on solder iron:
2. Place LED tape onto a table. Use a weight to keep it in place. (Be careful not to damage the LEDs!)
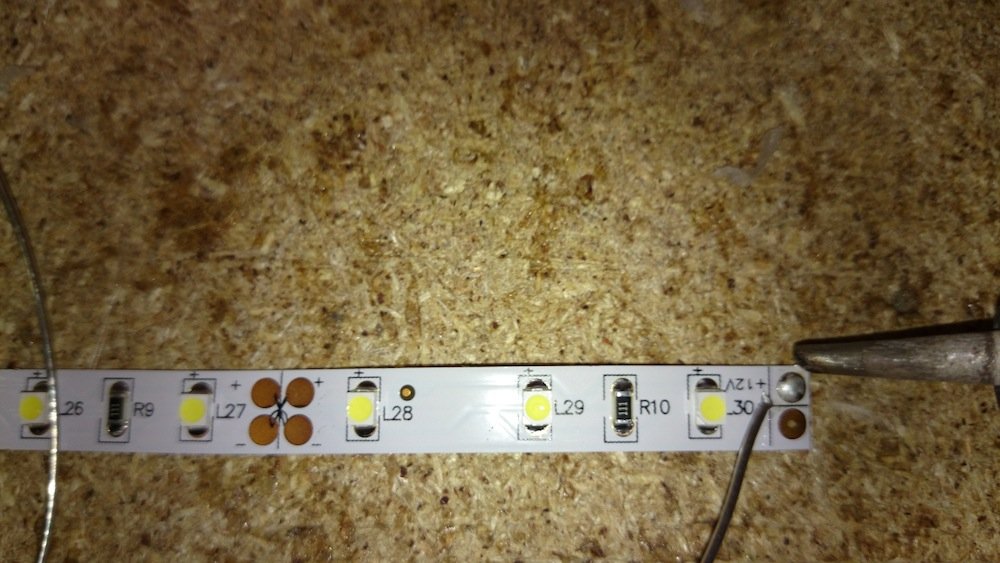
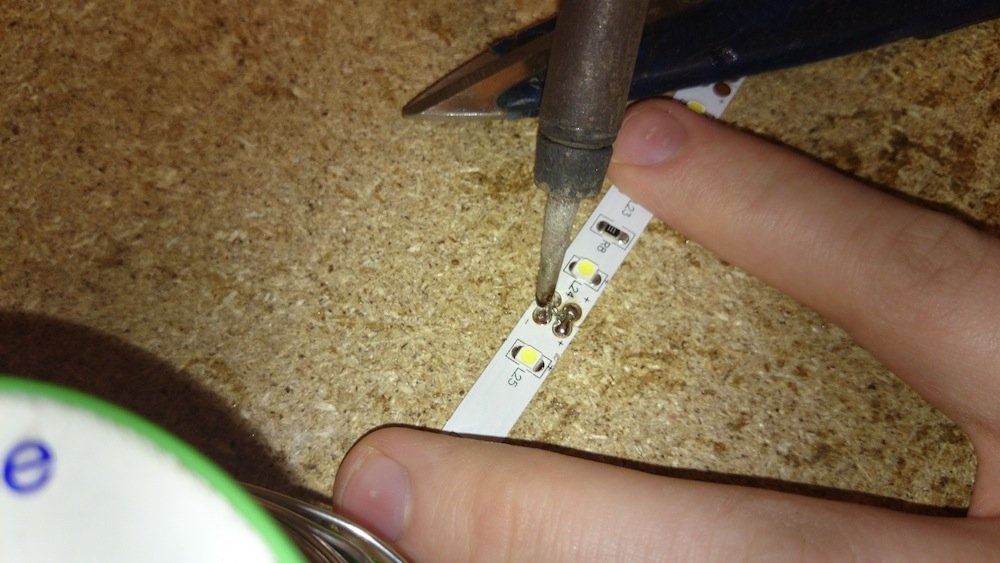
3. Now place solder iron point onto the copper pad on the tape and then apply solder to the pads:
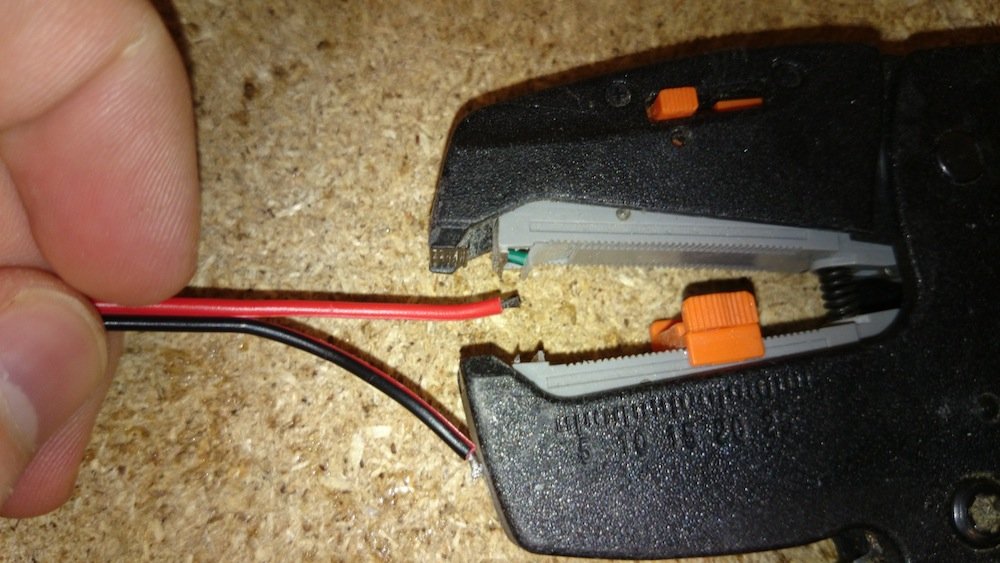
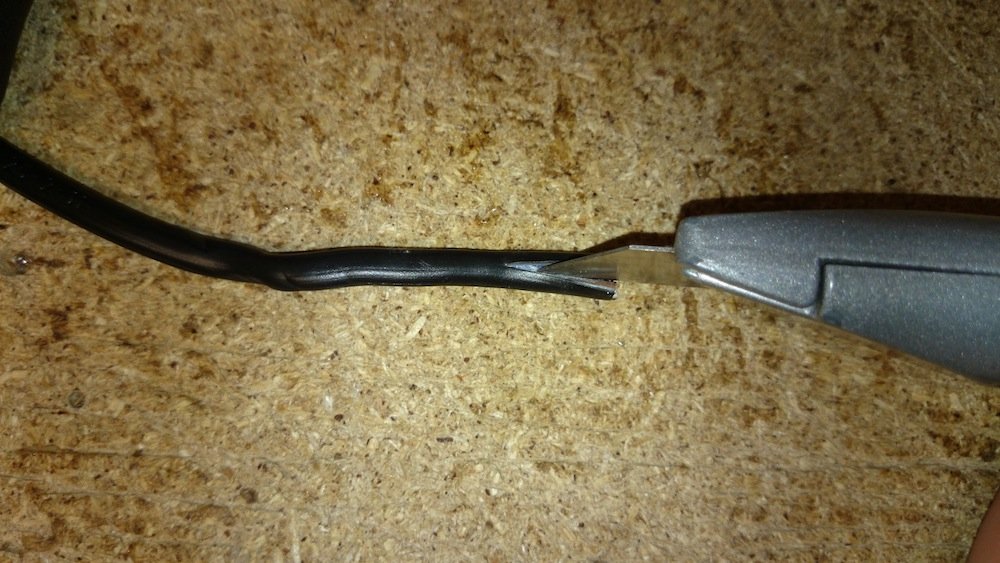
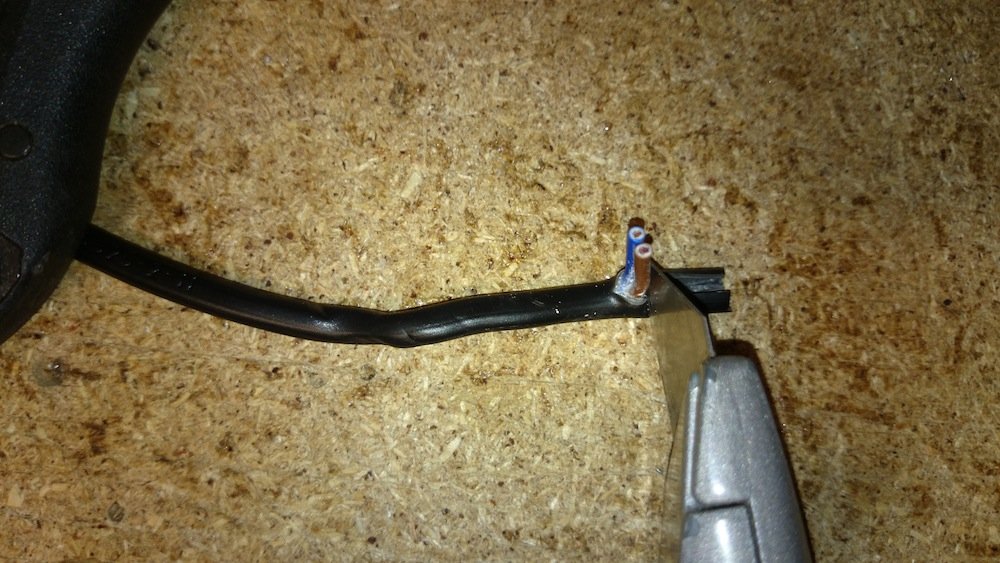
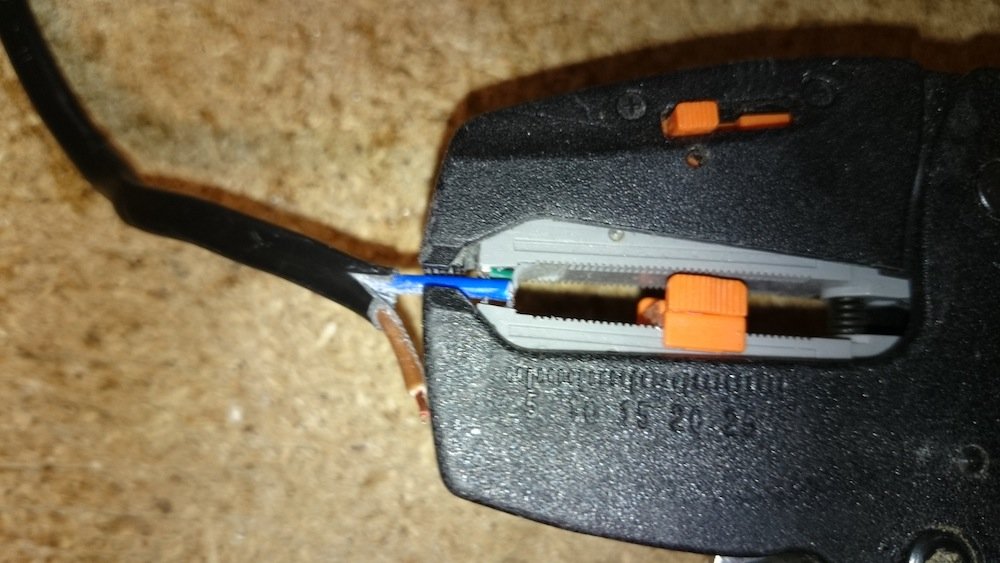
4. Grip the cable and, using the wire cutters, remove a small amount of the cable to revealing the metal strands. (With some 2-core cables, you’ll need to remove the outer cover of the cables with a knife.)
5. Using the soldering iron, apply hot solder onto the metal strands. Make sure the ends are fully covered, all around:
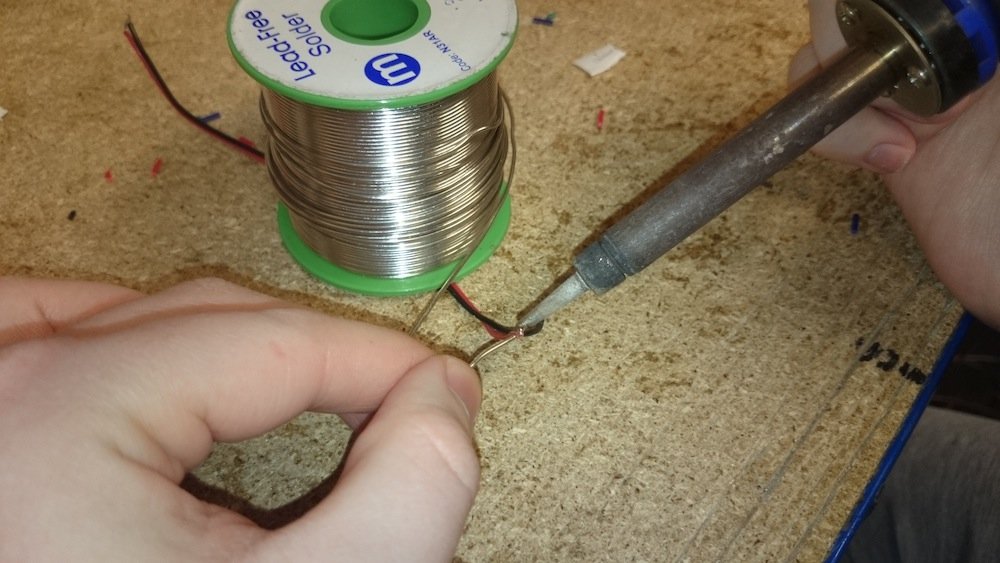
6. With the solder iron again, heat up the solder you’ve already placed on the LED tape’s copper pads (step 3 above). Onceit’s hot enough to melt, apply the cables to the pads. When you remove the solder iron, the solder will cool and make a bond.

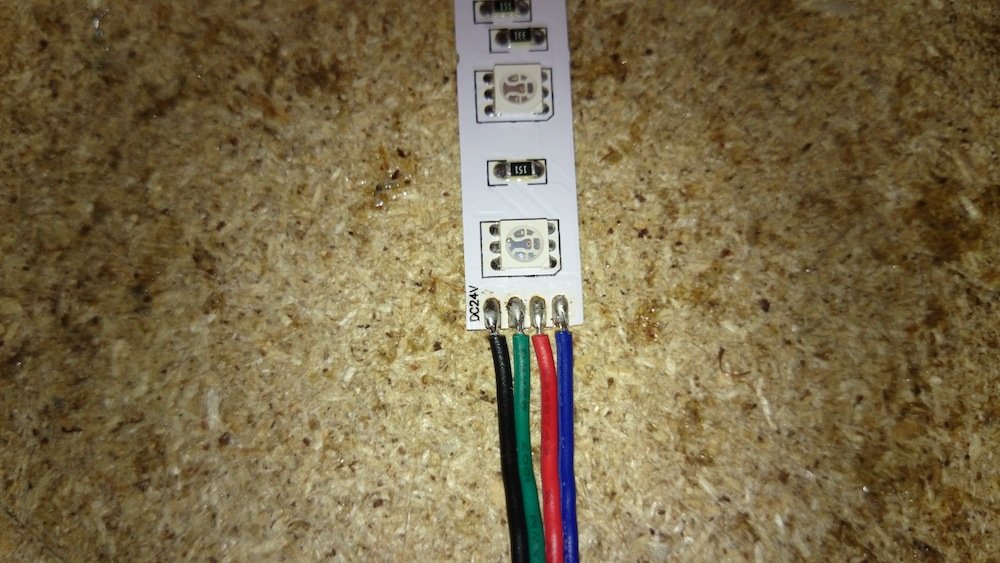
Make sure you place the correct colour cable to the right pad:
2-core cable:
Red is +
Black is –
Brown is +
Blue is –
Red is +
Black is –
Brown is +
Blue is –
4-core cable:
Black/Brown +
Red is –
Green is –
Blue is –
Black/Brown +
Red is –
Green is –
Blue is –
7. Test to make sure the tape is working. If it isn’t, work through the steps again to work out what the problem is.

Soldering Tape to Tape:
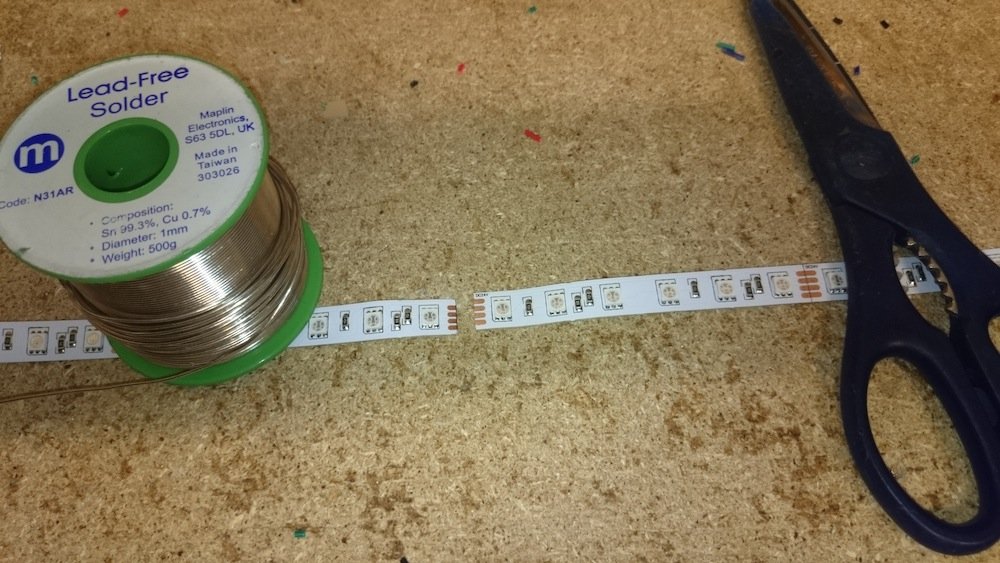
1. Place the end of the LED tape onto the tabletop and weight it down (being careful not to damage the LEDs). Position the other section of LED tape that you intend to join to the first. Make sure that the + and – terminals match, if you’re working with single-colour LEDs. Or if using RGB LED tape, check that the positive (+) R G B terminals are all lined up in the right positions.
2. Now take the solder iron point to the copper pads to heat it and then apply solder to all pads on both pieces of tape.

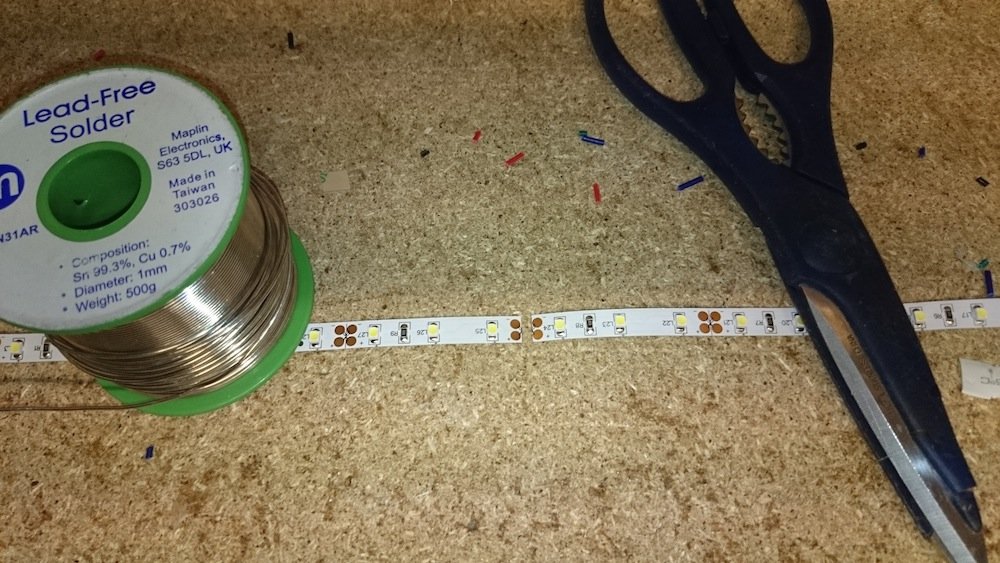
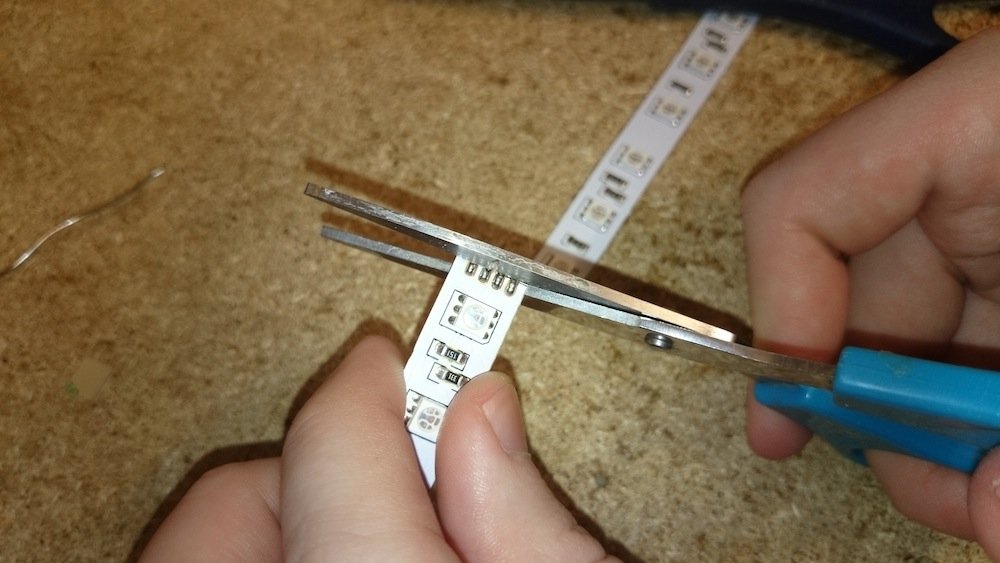
3. Using scissors, cut your LED tape right across the solder pads on both pieces of tape.

4. Place the tapes next to each other, ends butted together. Make sure the edges of the cut copper pads are lined up correctly. Once you’re happy with the position, take your soldering iron and heat the solder so that the two ends join together and bond.

5. If there isn’t sufficient solder there to make a solid bond, you can add extra solder to the connection.
6. Test your connections and colour channels to confirm they are working correctly. If there’s a problem, work through the steps again to locate and fix it.