


Before we start let’s make sure you have the items needed to do this job:
Items:
- The LED Controller
- LED RGB Tape 12v or 24v types
Tools:
- Philips Screwdriver
- Wire Clippers
- 2 Core Power Cable
If you have these items then we can proceed to the next part where we can wire the RGB tape into the LED Controller and wire in the power cable.
Step 1
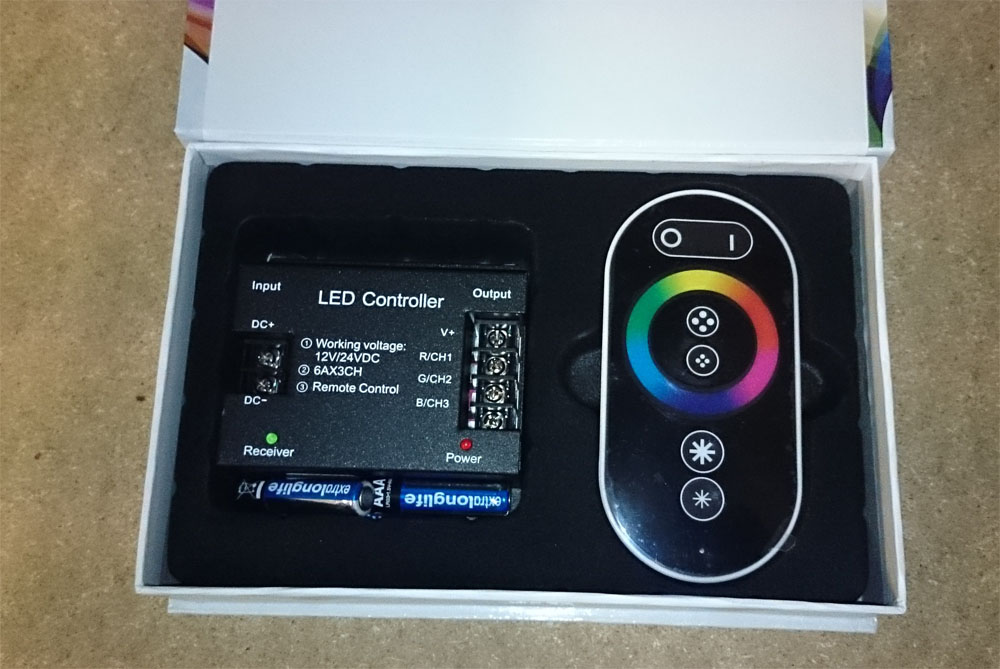
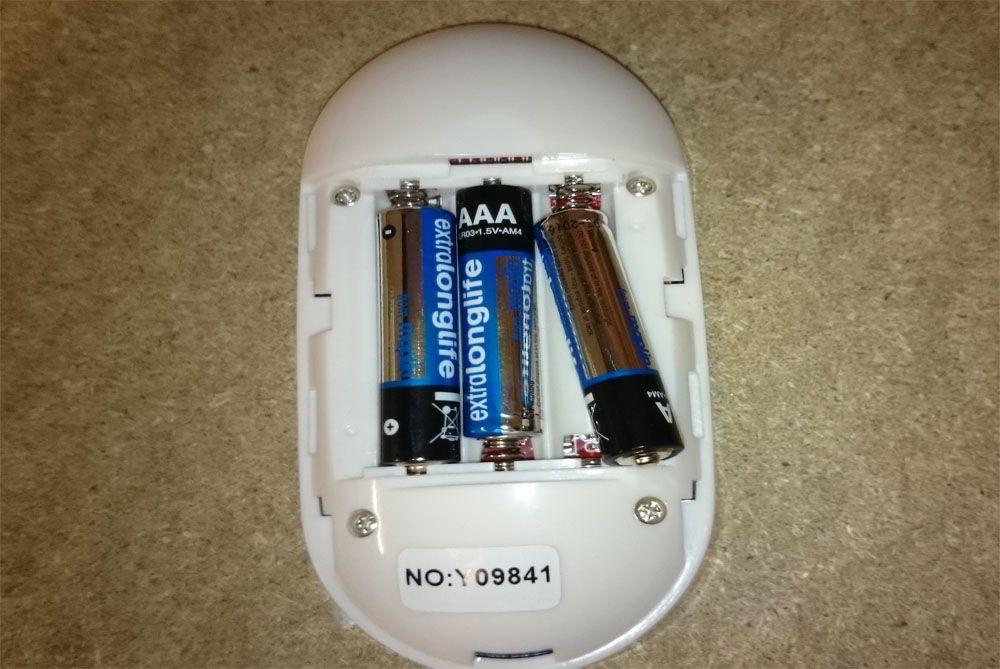
Open your LED Controller box and you will find the controller on the left that all the wires connect into, on the right there will be the wireless controller. Also included will be three AAA batteries to place into the wireless controller.
Step 2.
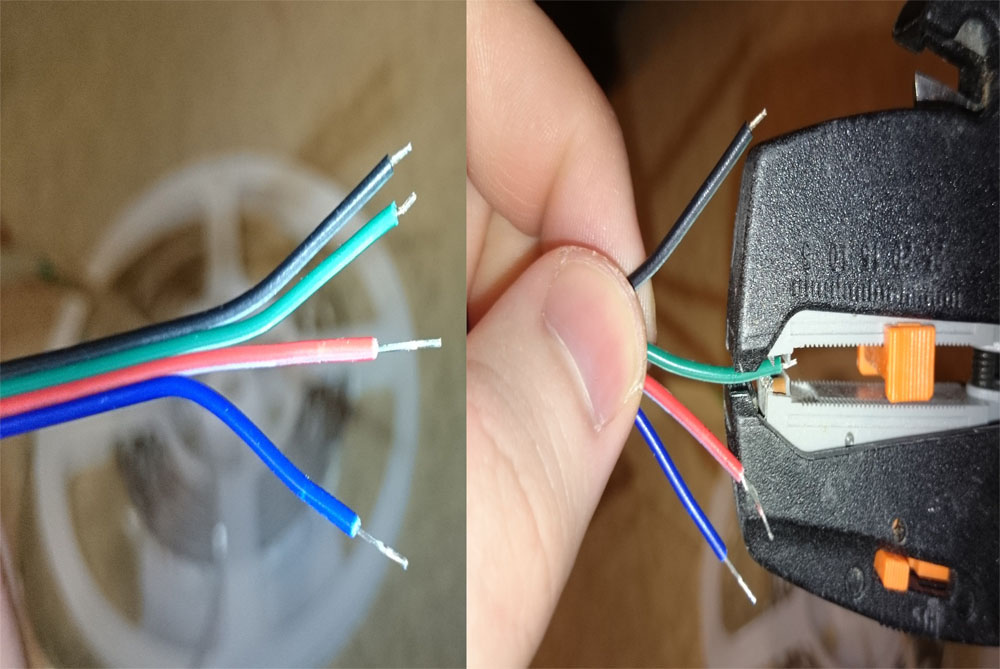
Open your RGB Tape bag (depending on what you have ordered) you will find a 5 metre run of tape on a reel. There will be a starter cable connected to the start of the length of tape which may need cutting to elongate the metal strands. If they do need cutting you must use the wire cuttings as shown in the photo below.
Step 3.
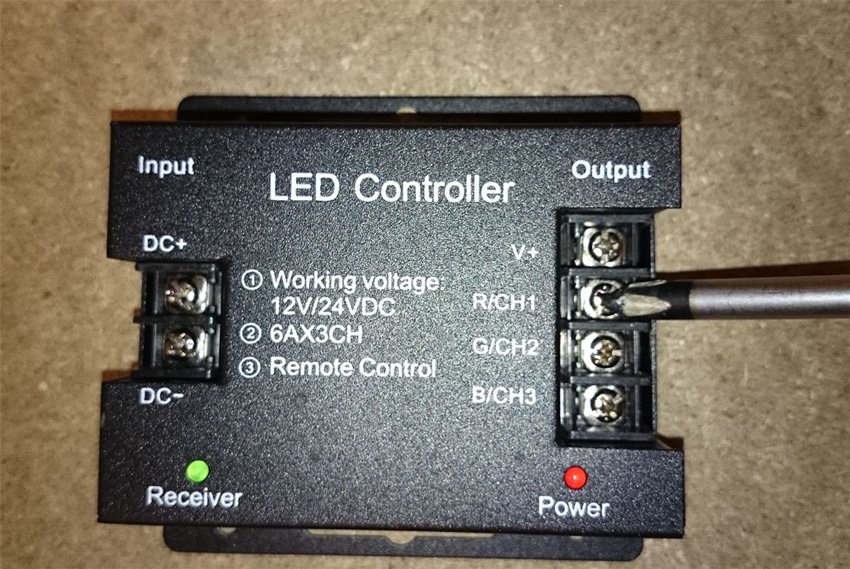
This step is to un-tighten all 6 screws on the side of the controller.
Step 4.
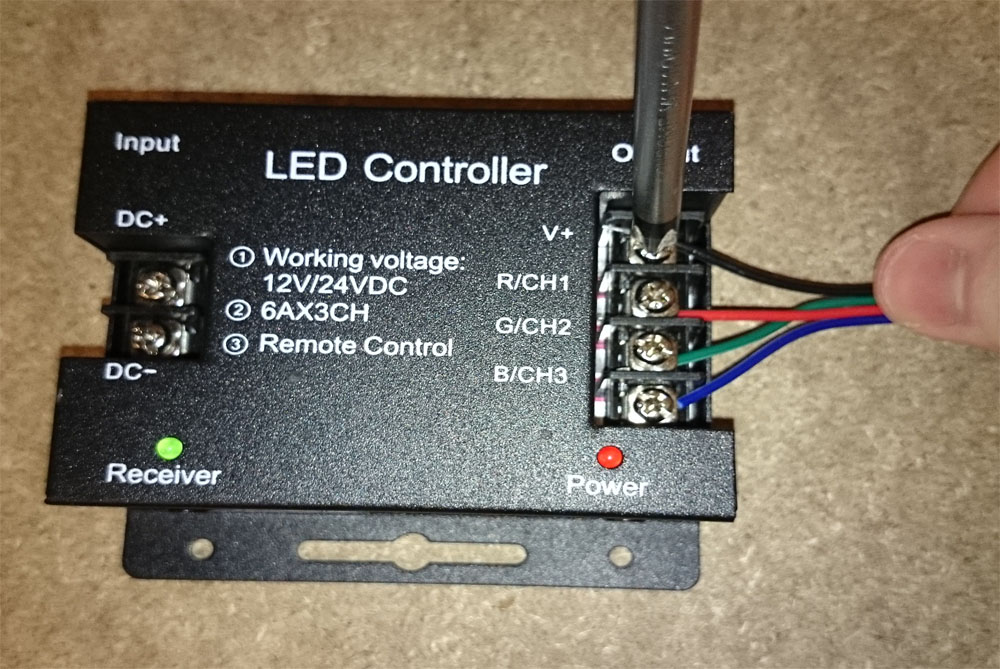
Once all the screws have been un-tightened it is time to place the correct coloured cables into the controller. On the right hand side of the controller you will see labeled V+, R/CH1, G/CH2, B/CH3, this is where we match the colour of the cables to the correct channels so that the right colours illuminate when on.
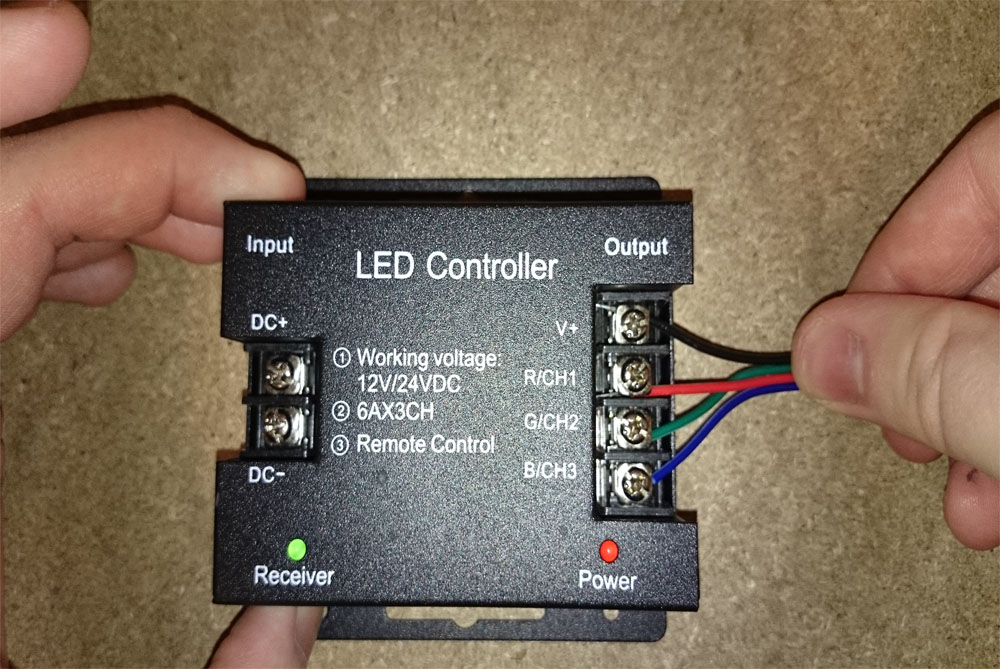
The V+ channel is the black cable (sometimes this cable is brown)
The R/CH1 channel is the red cable
The G/CH2 channel is the green cable
The B/Ch3 channel is the blue cable
Place the correct cables to the corresponding channel and then use the screwdriver to screw down and keep the cable connection secure.
Step 5.
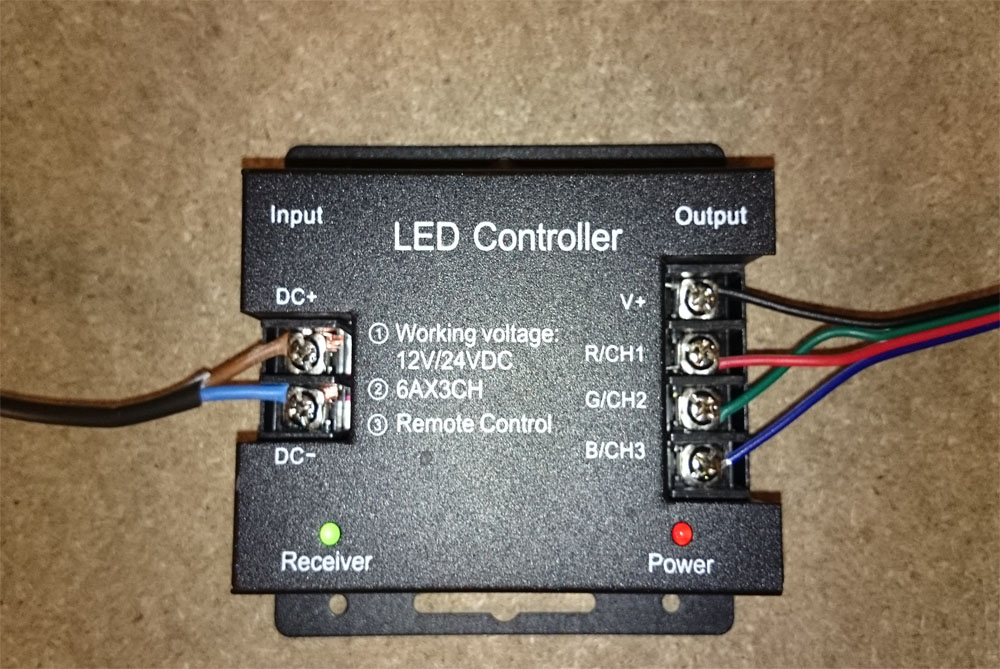
This step is to connect the power lead into the controller, this may differ on how you will be powering your controller but you must connect the the + positive connection to the DC + and the – negative to the DC – which are found on the left of the controller.
Step 6.
Now that the controller is set up it is time to take the wireless remote out of the box and place the three batteries into the back of the remote.
Step 7.
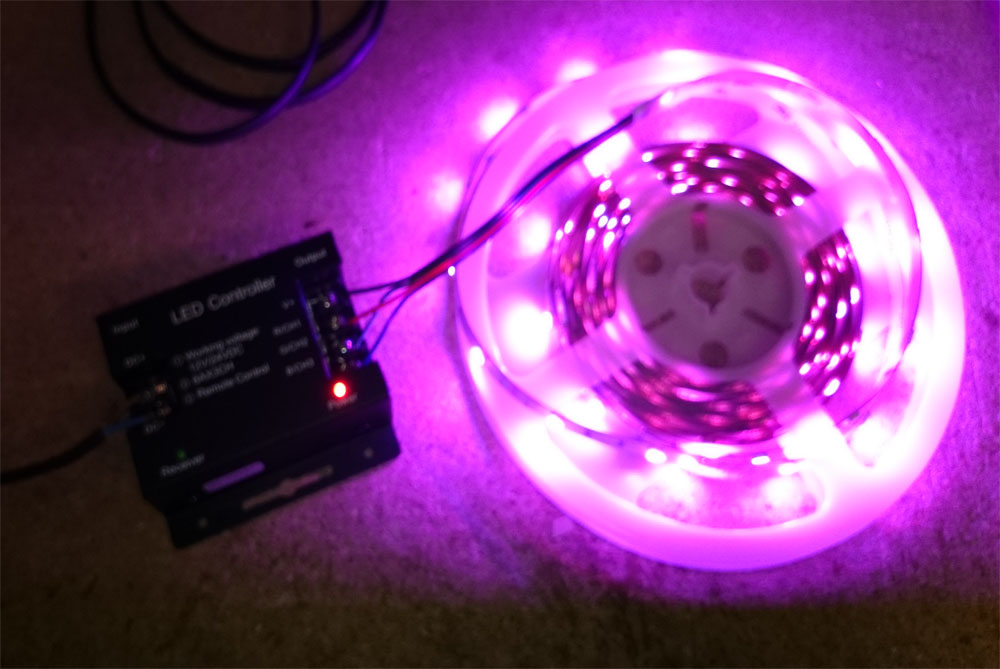
Power on the device and you can control it with the wireless remote choosing different colours and modes to your liking.
This completes this guide on how to wire LED RGB Controller with RGB LED Tape. For anymore information or technical problems you may have you can always give us a ring on 0116 2799 083 and our friendly staff will help you.