Positioning LED Tapes – tips for covings, plinths, cabinets and more

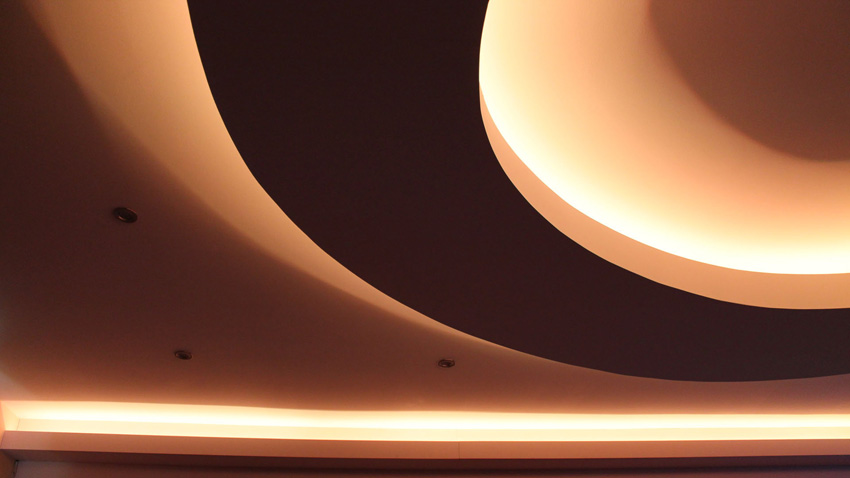
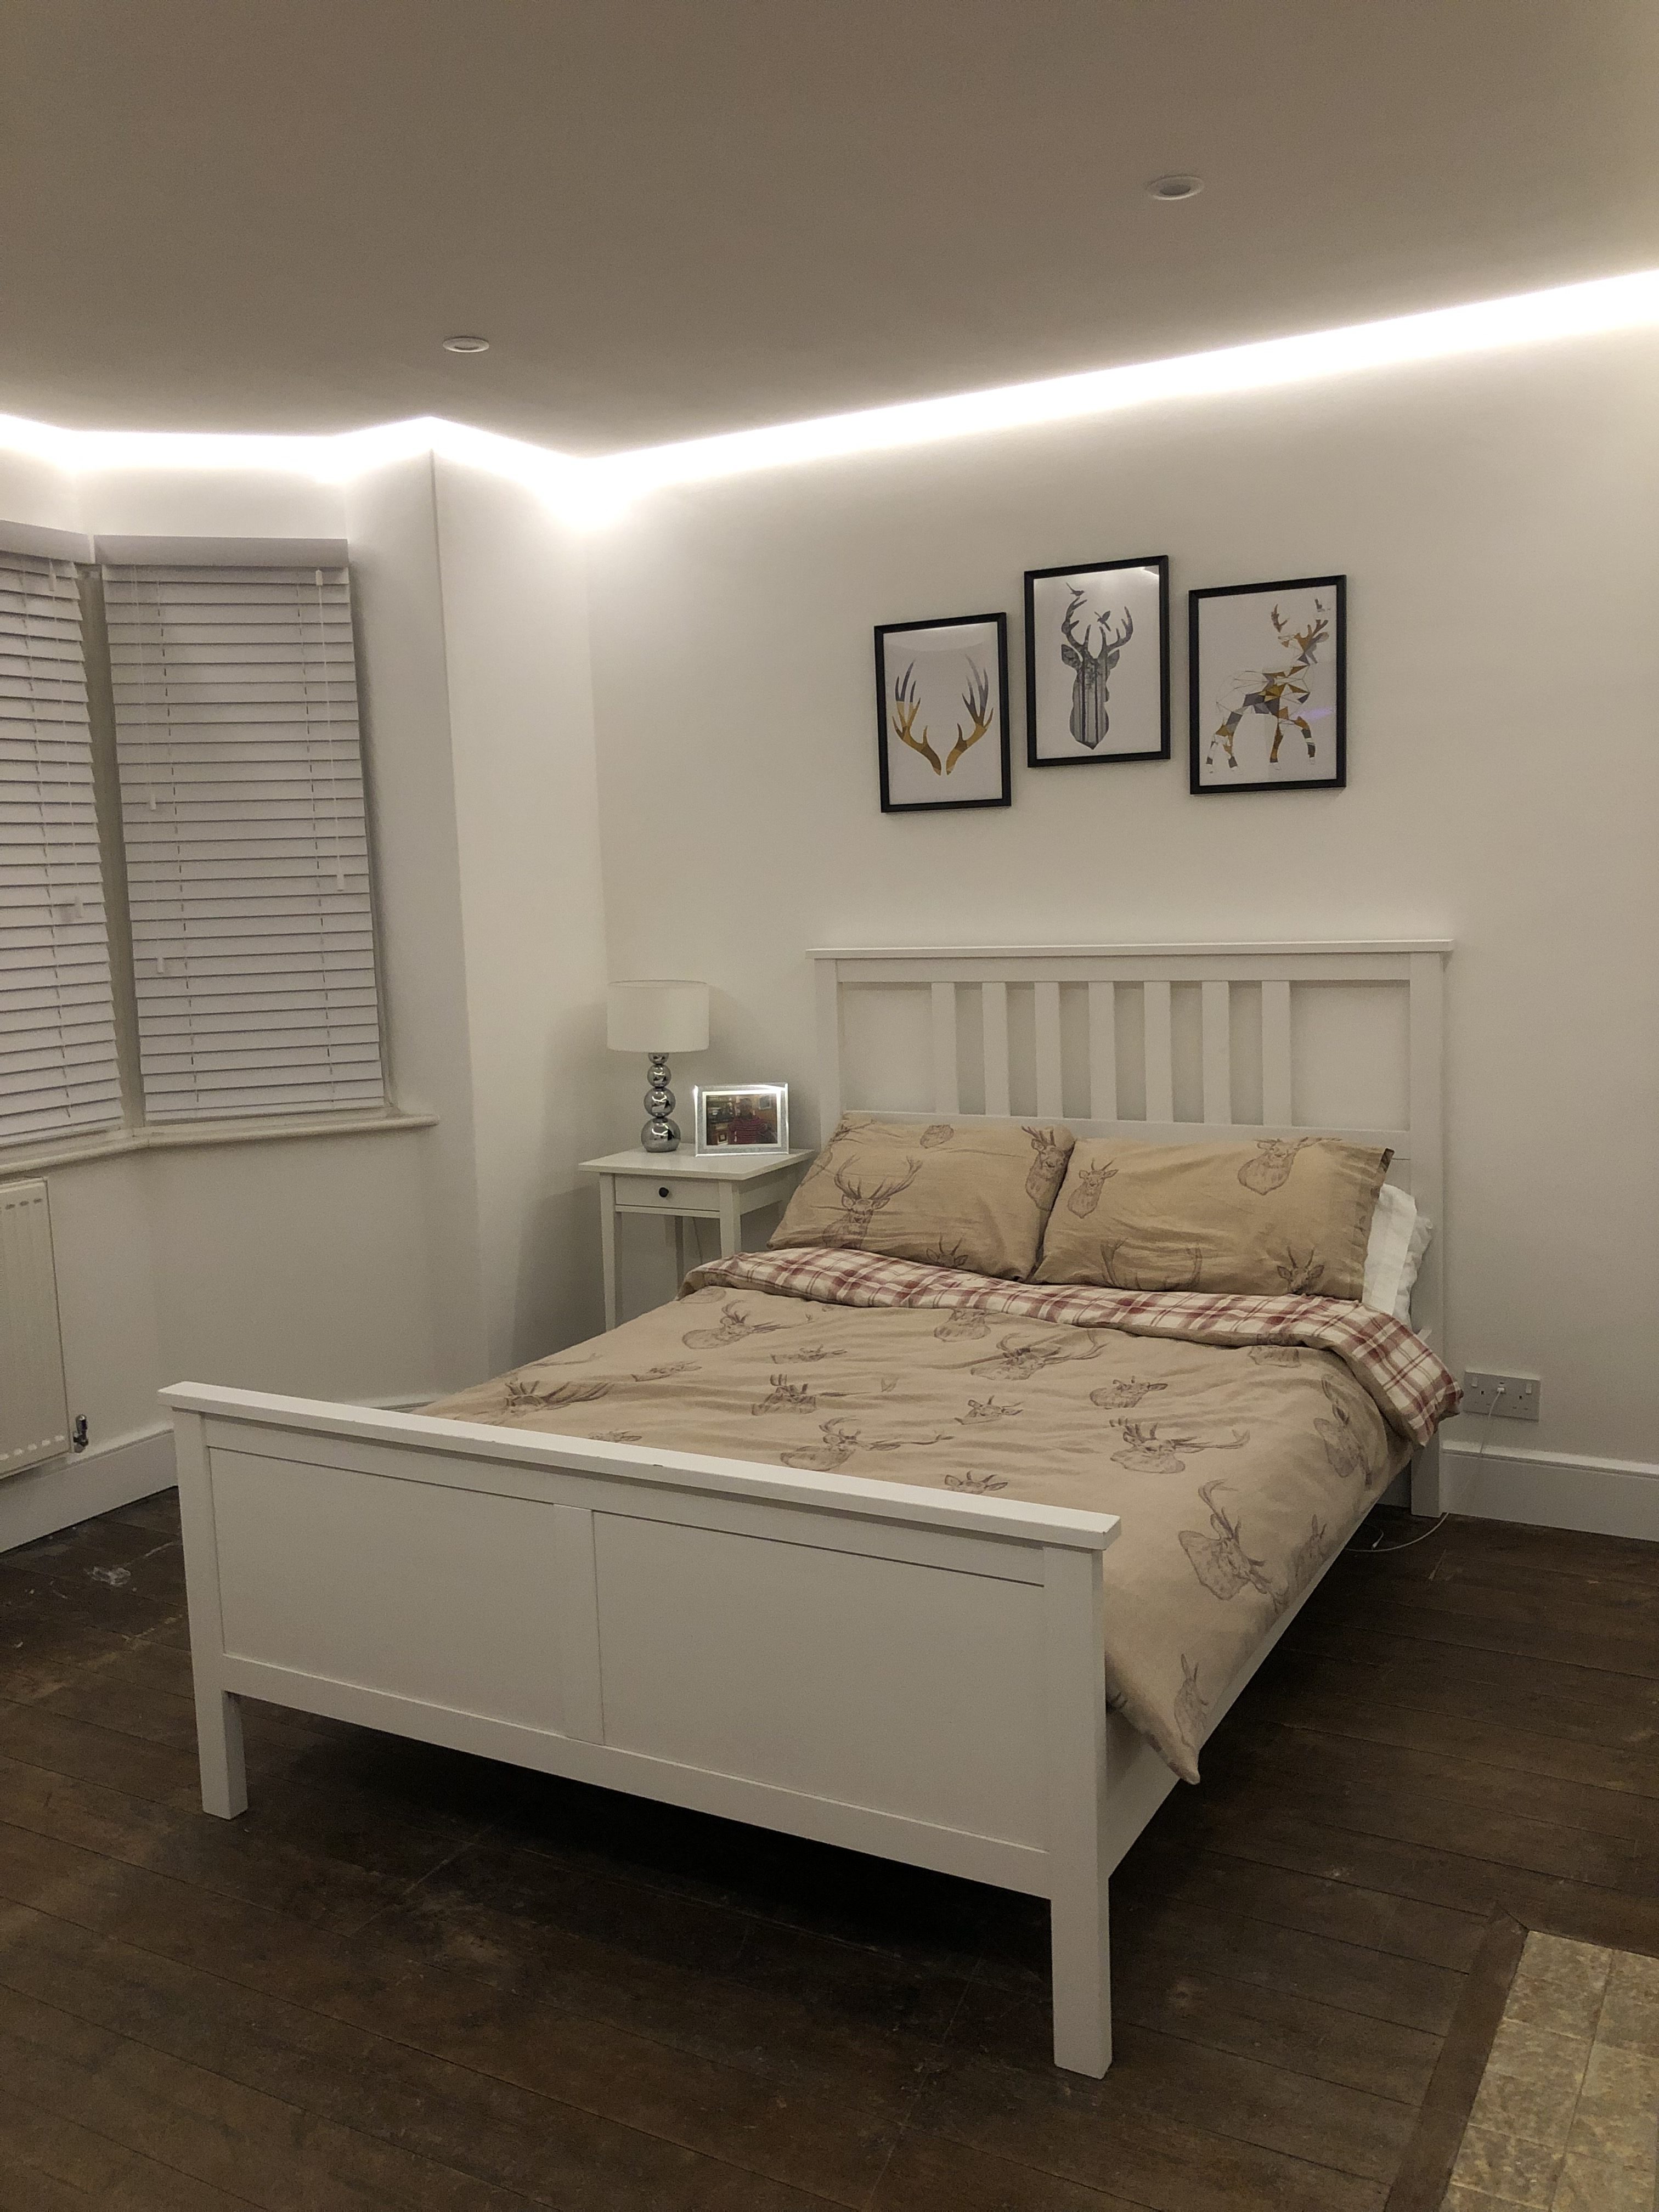
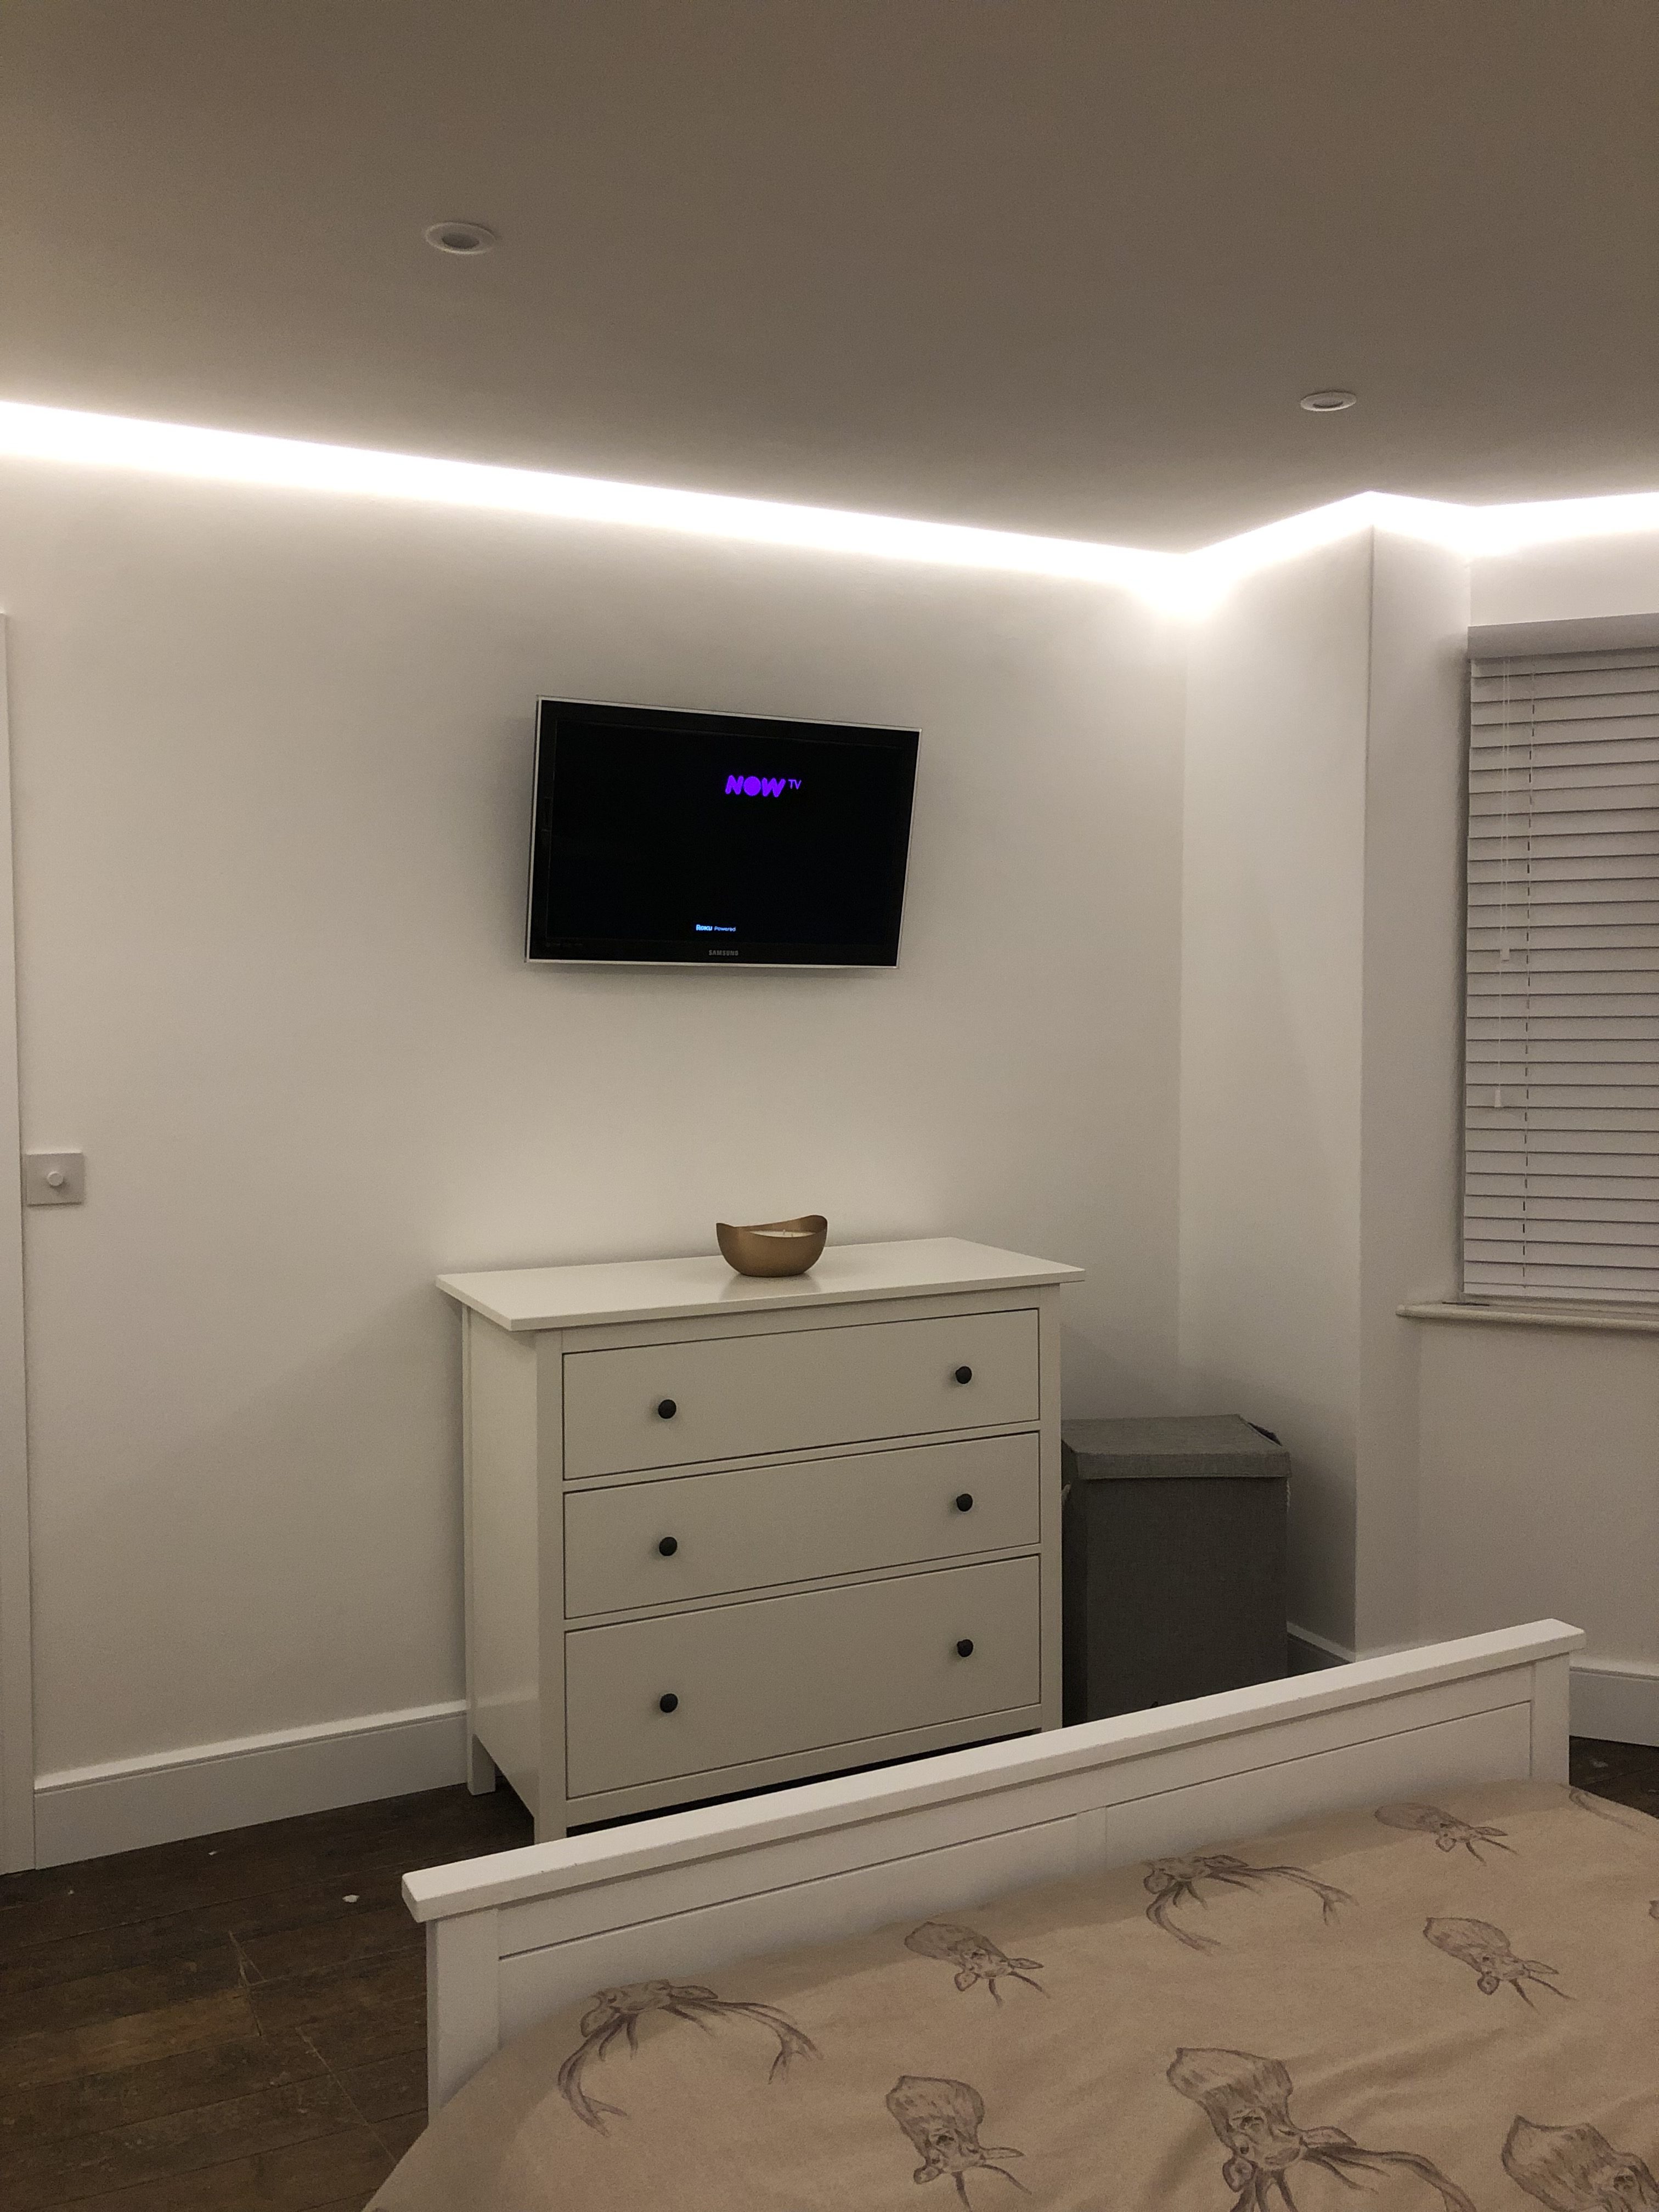
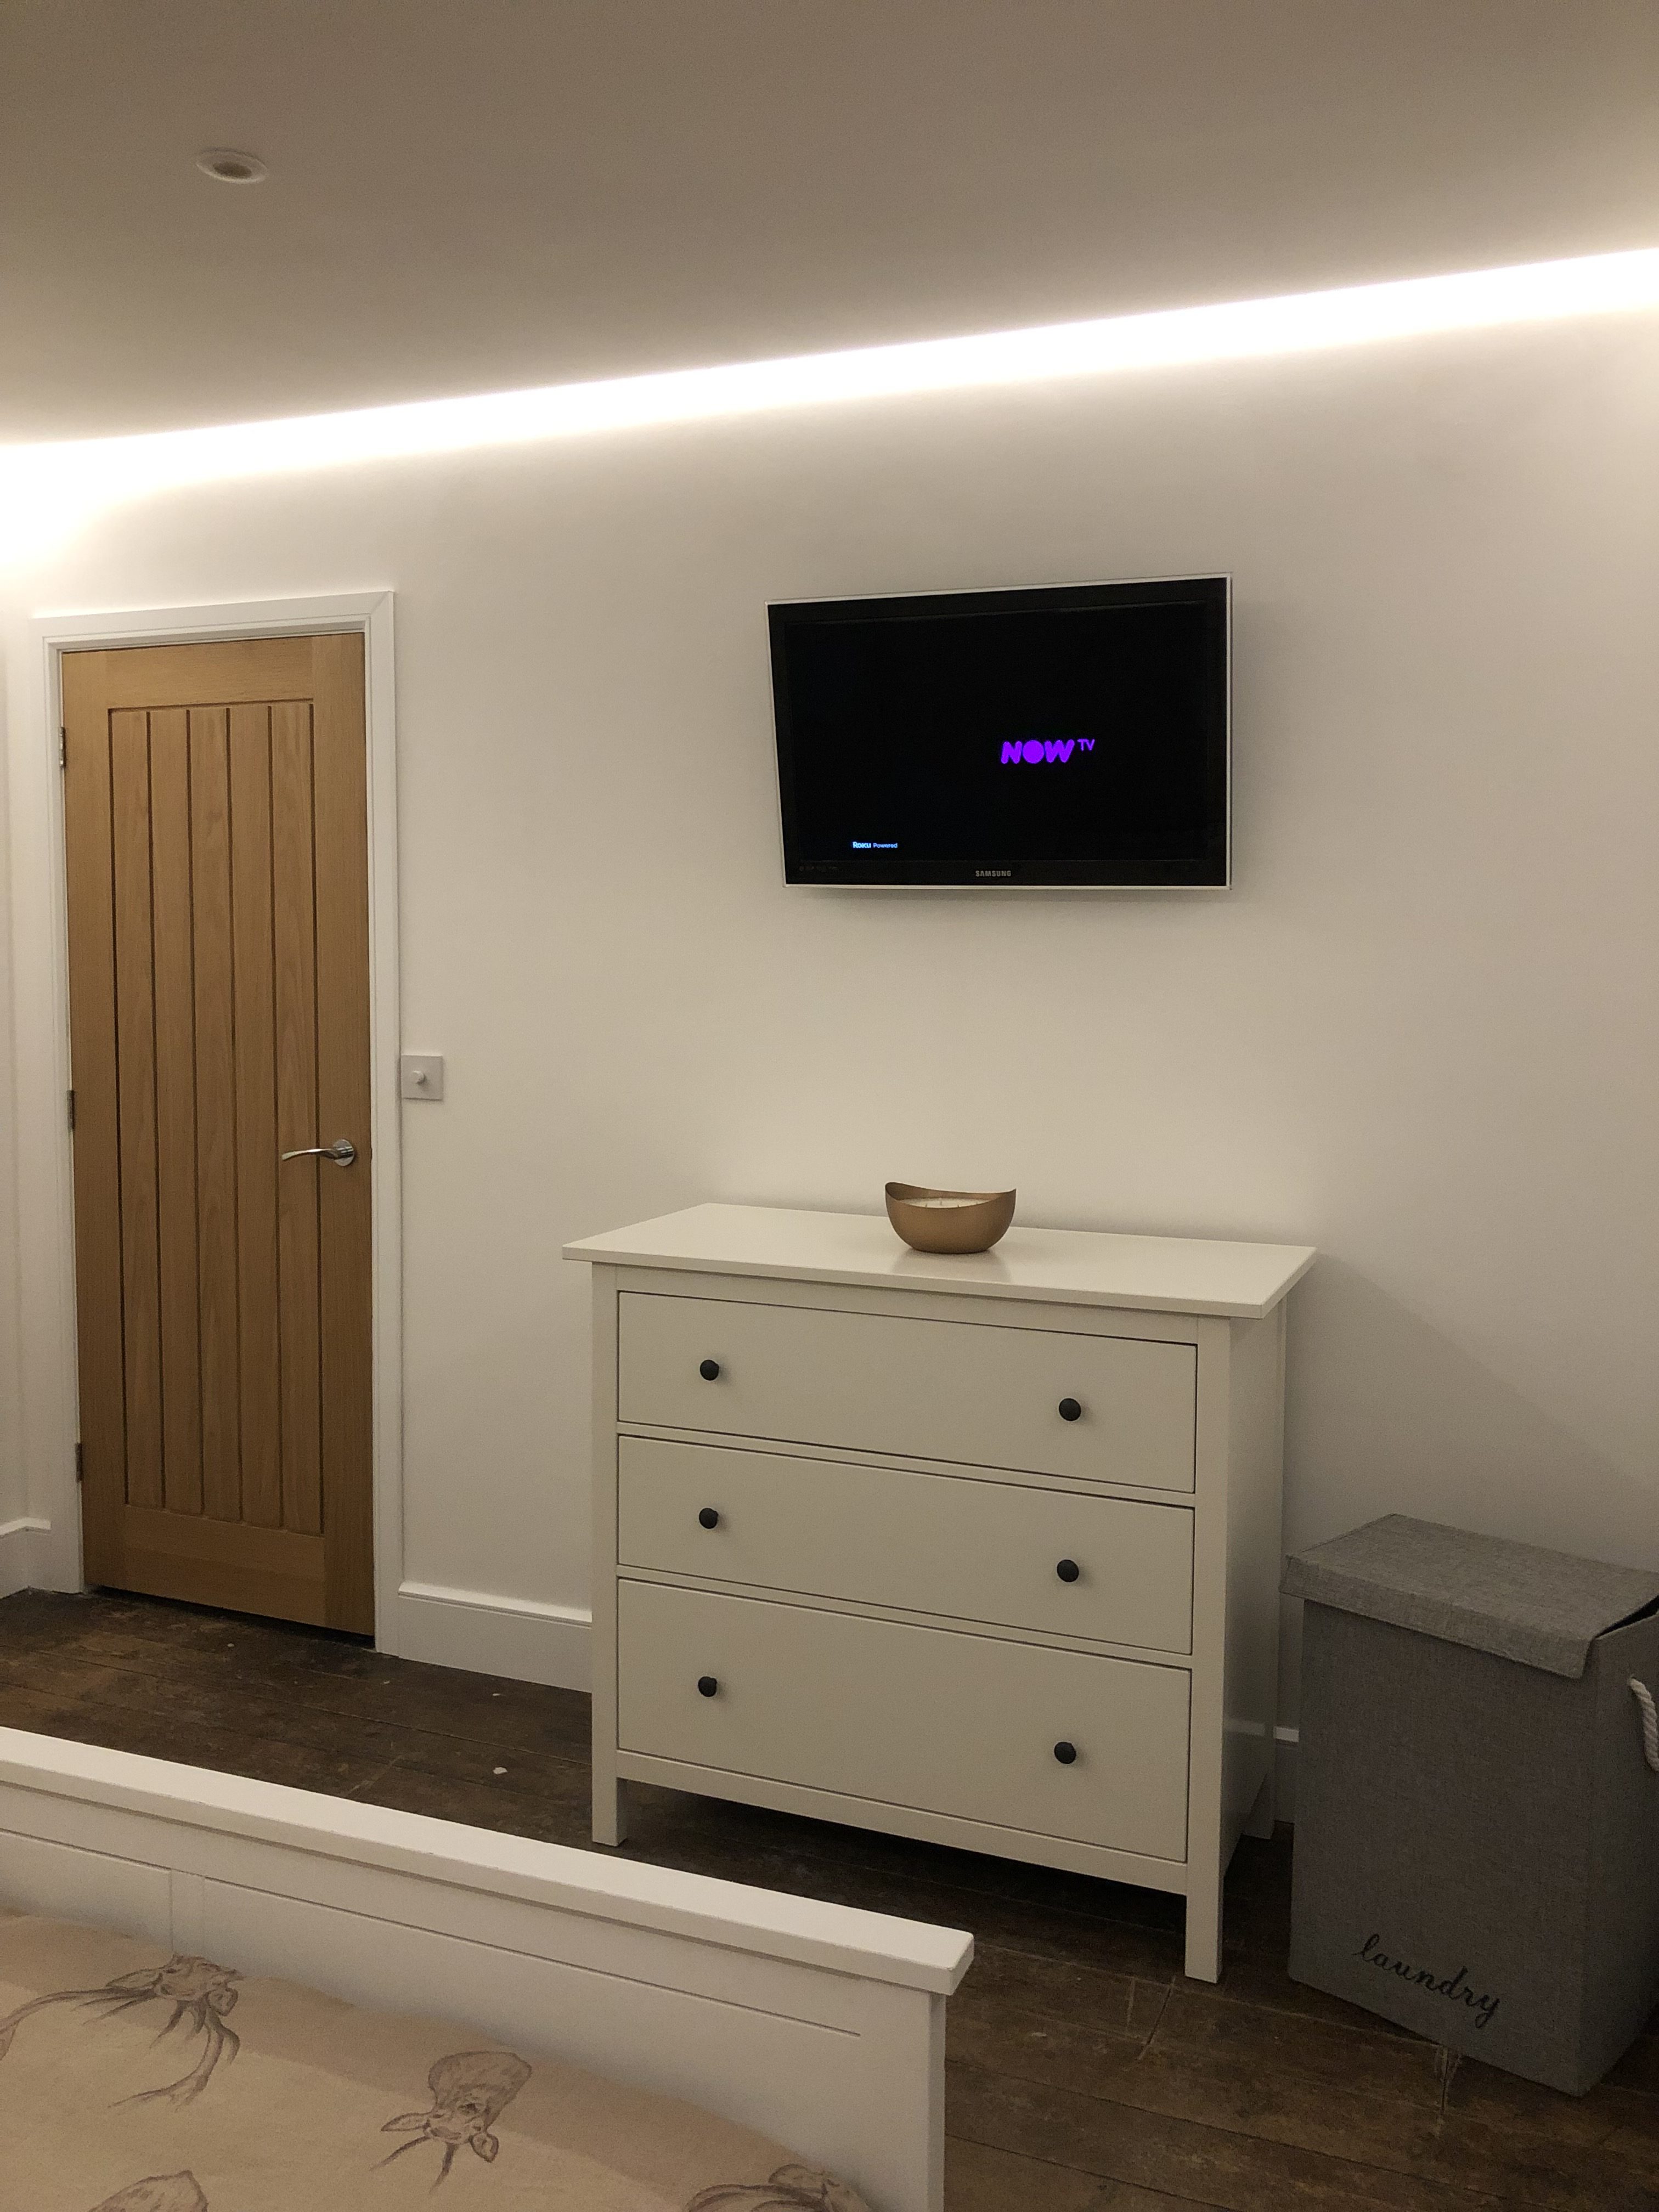
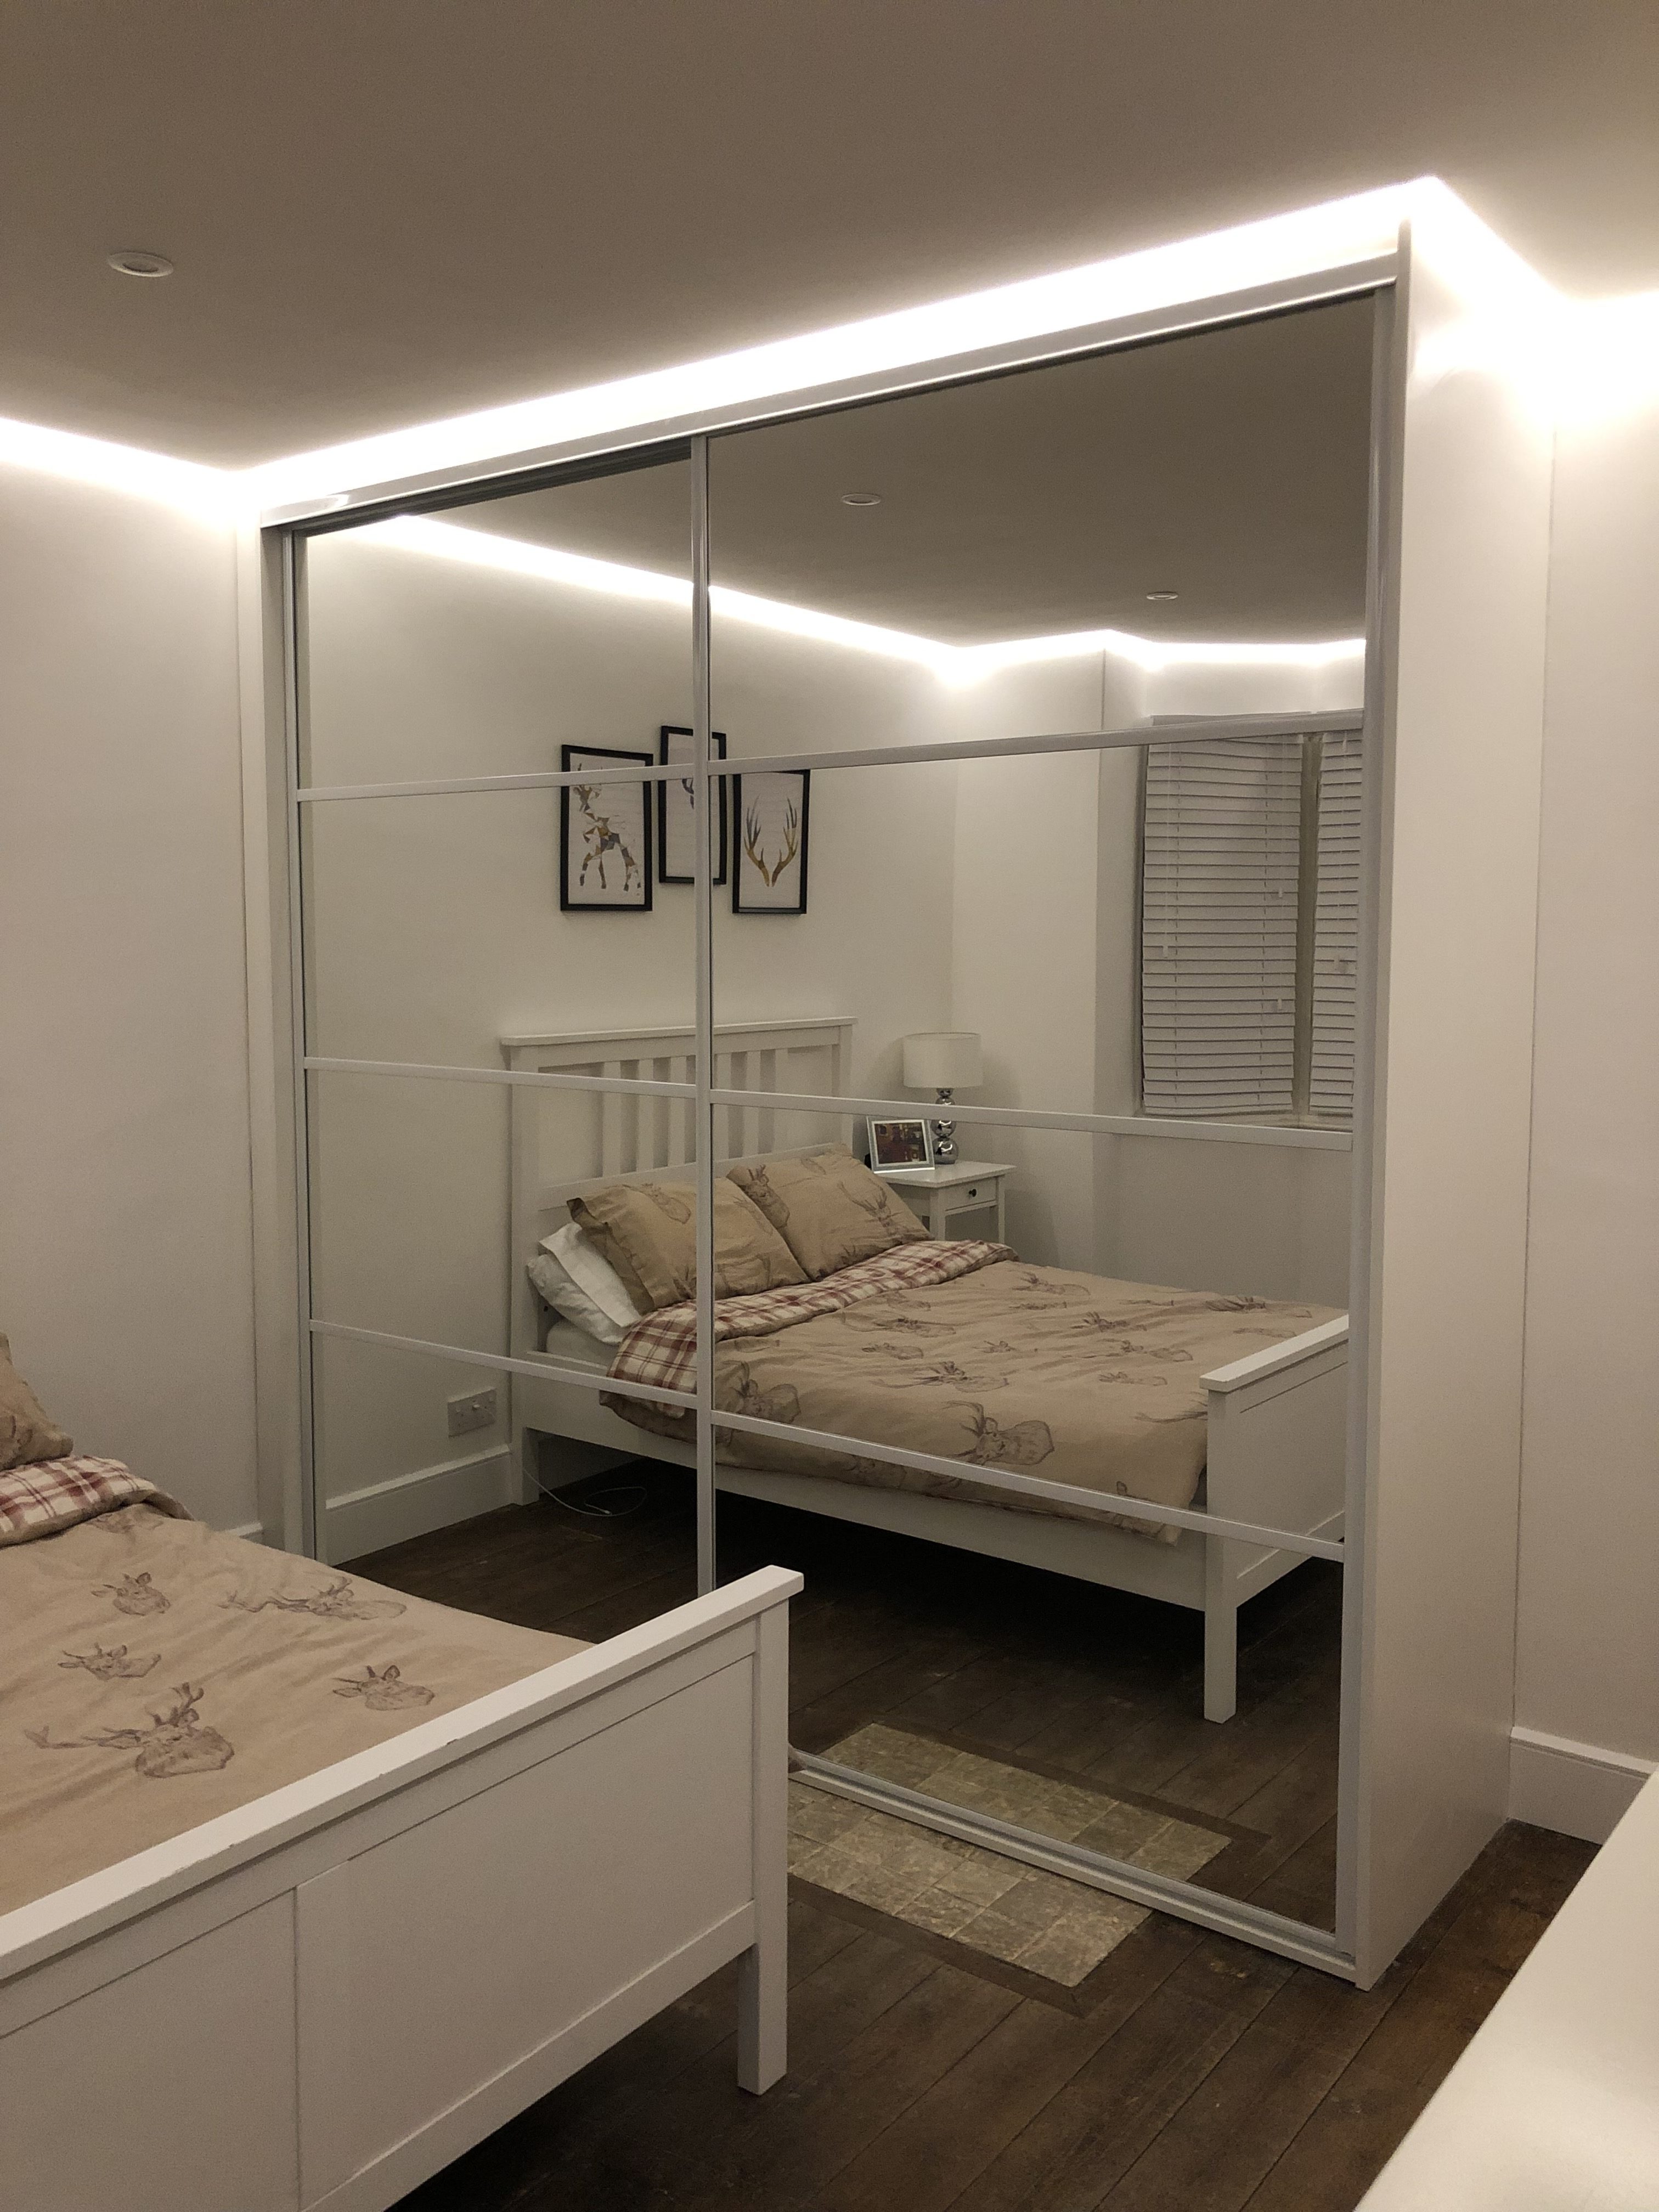
How to install LED strip lights on drop-down ceilings
- LED tape can be fitted horizontally, facing upwards. (fig 1)
- Or LED tape can be fitted vertically, facing sideways. (fig 2)
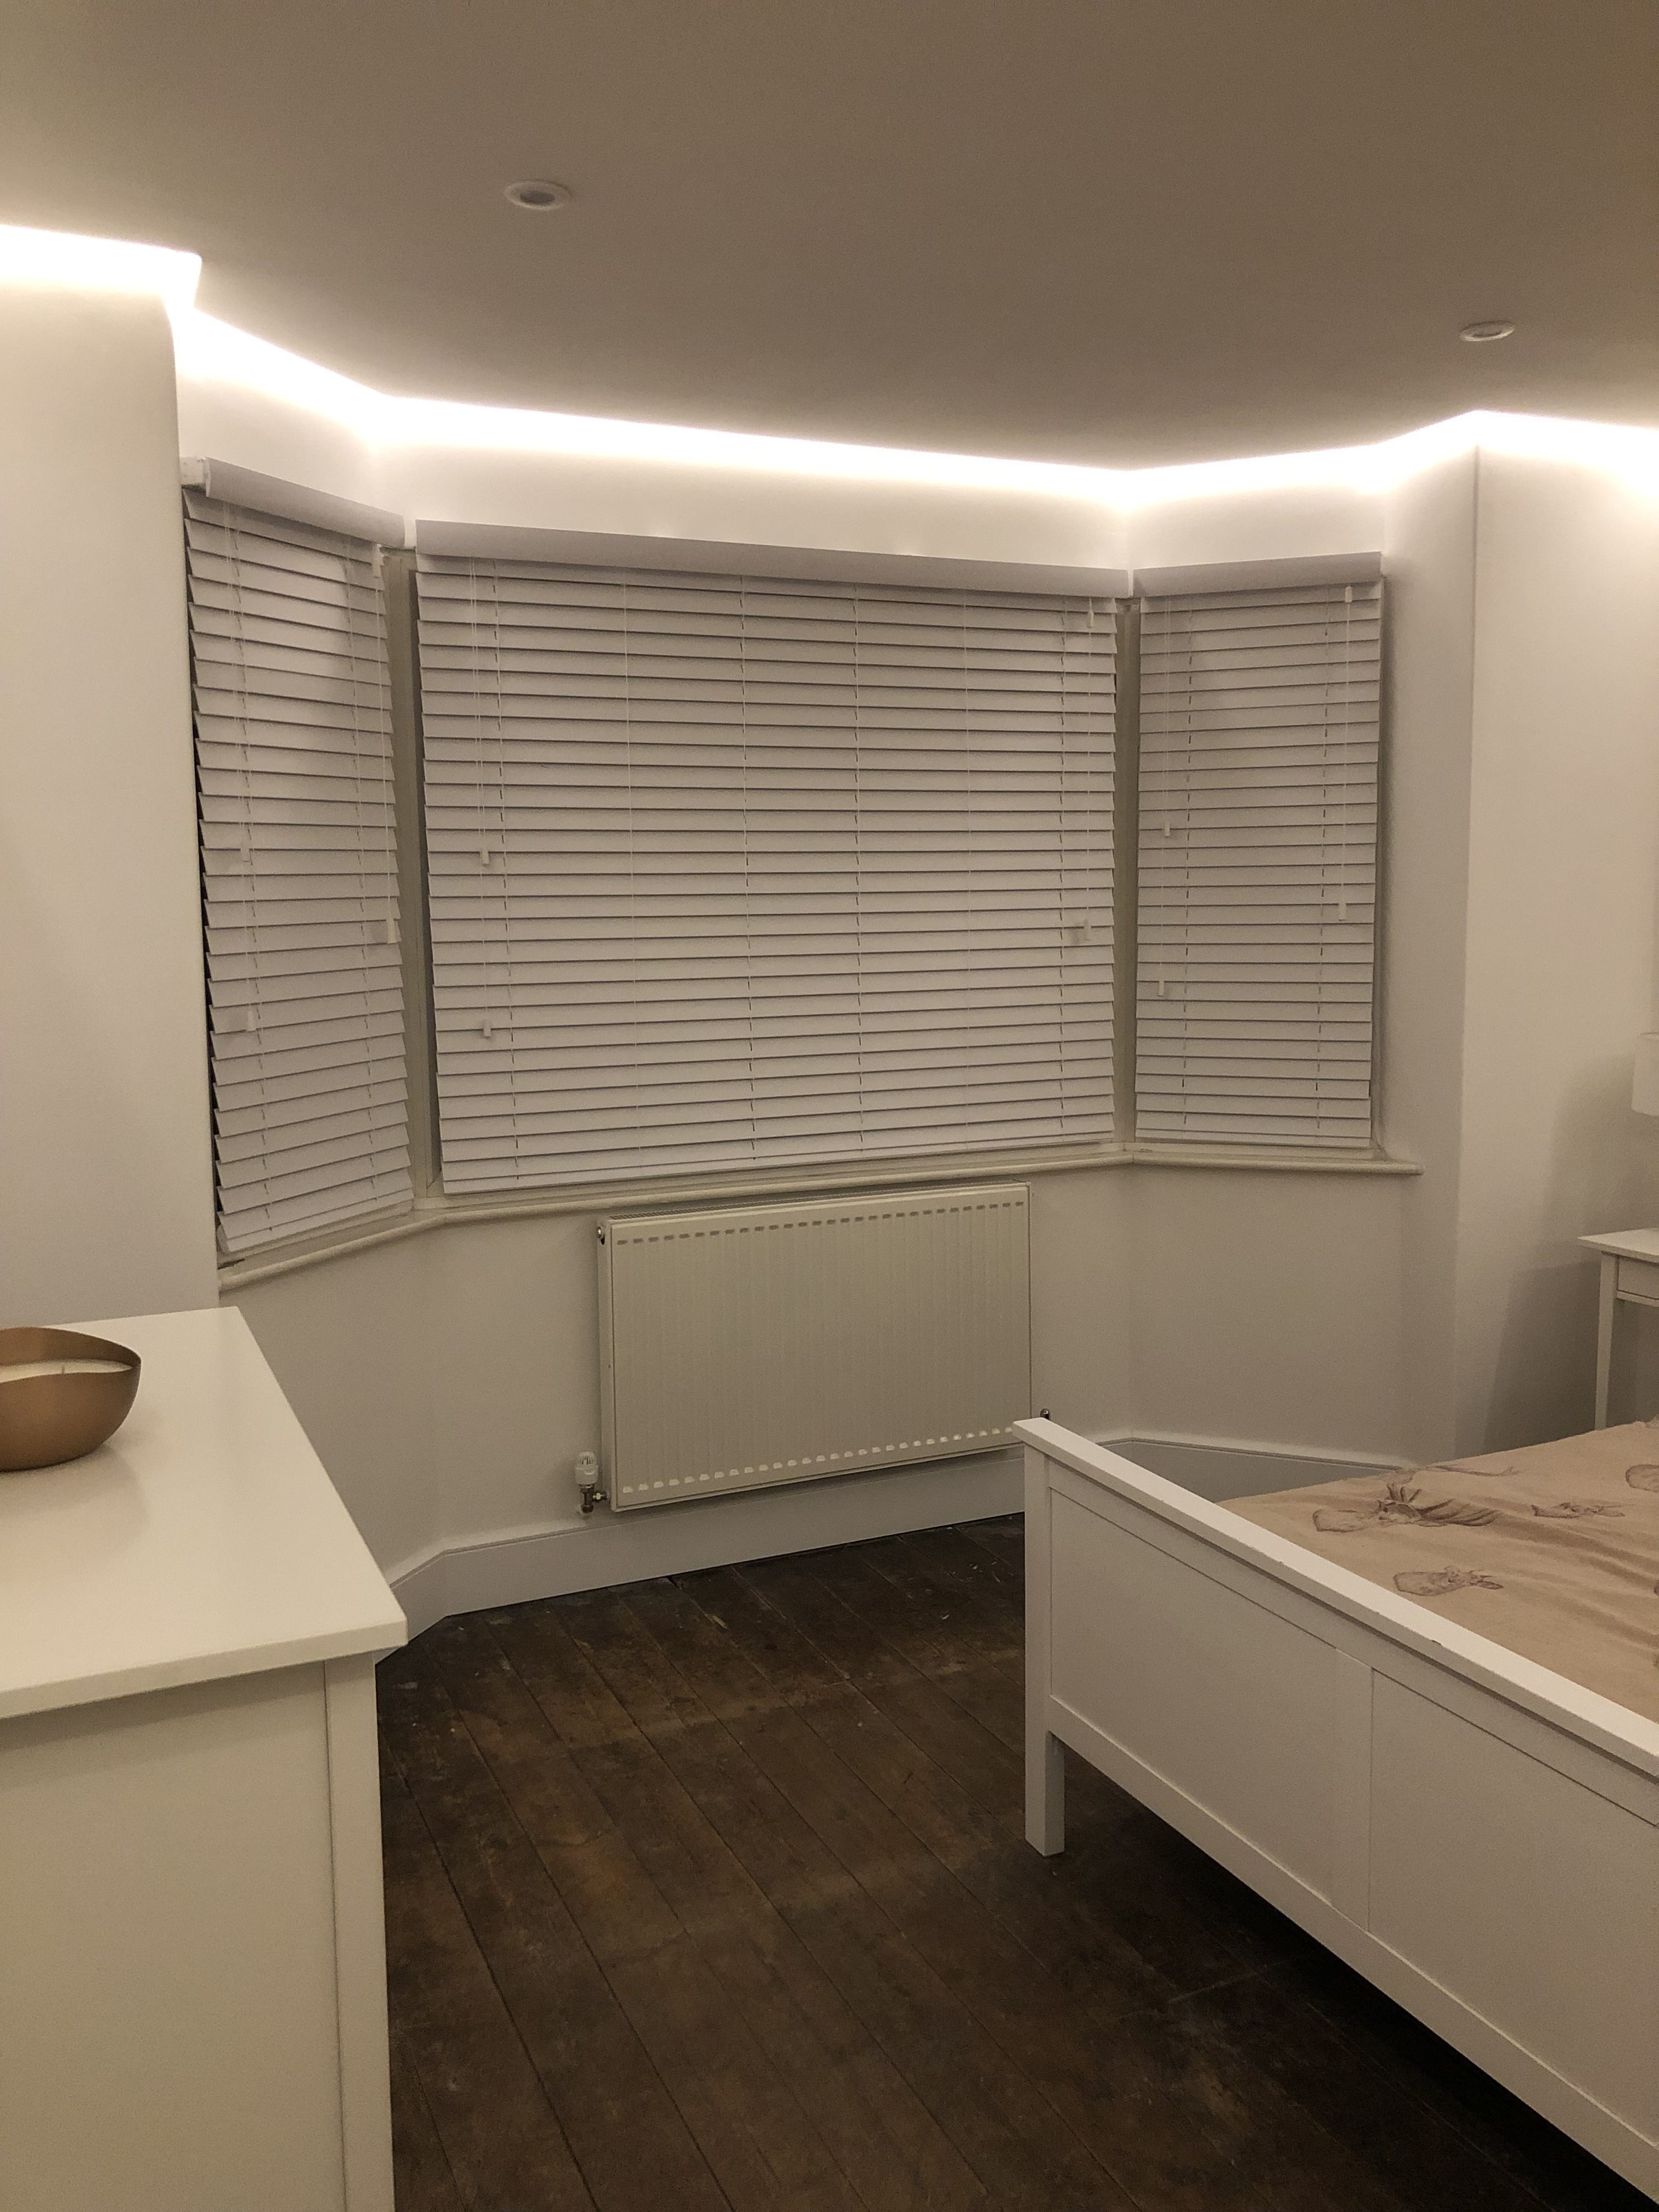
The design of drop-down ceilings can vary, but they’re typically suspended with a drop of around 10cm-15cm, and the same distance from the surrounding walls.

fig 1 – LEDs placed horizontally
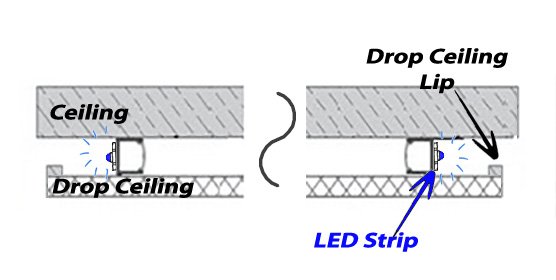
fig 2 – LEDs placed vertically
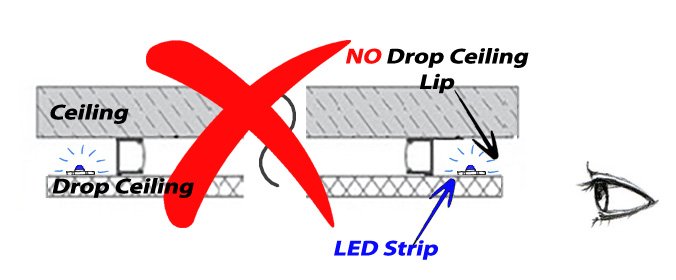
fig 3 – always place LEDs behind a lip
How to install LED strip lights on coving and cornices
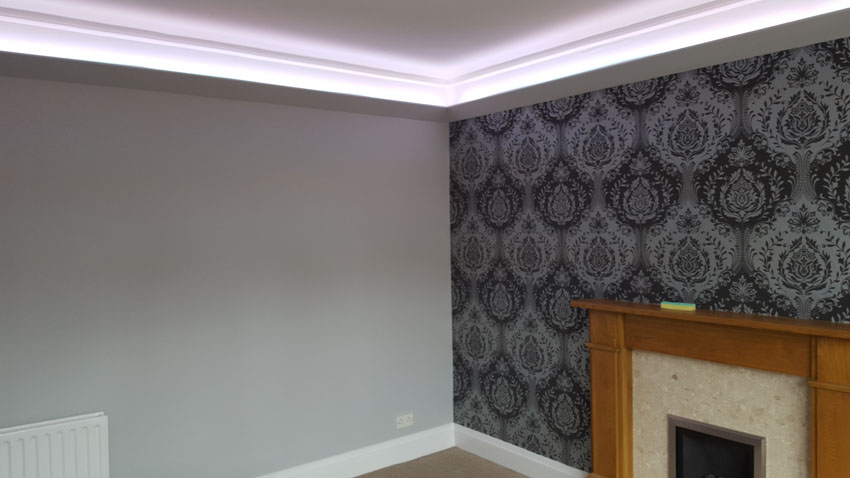
If you are fitting/moulding your own coving, you can choose how far down from the ceiling you want it. Once your coving is in place, a good tip for positioning your LED tape is to fix it as far from the back wall as you can, so as to avoid seeing visible light-dotting.
(Try to fit your coving so the LEDs will sit at least 100mm down from the ceiling, and at least 50mm from the wall.)
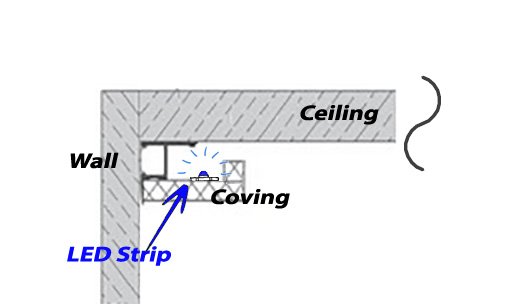
fig 4 – placement of LEDs with coving
Also, make sure there’s a lip on the coving, to hide the LEDs. This is key to creating a much better effect, by displaying just the light and not the light-source. A lip roughly 20mm in depth is ideal.

Alternatively, you can fit your LED strips to one of our moulded picture rails. Specifically designed to accommodate our LED tape range, they enable you to angle the lights away from the wall.
How to install LED strip lights on plinths and kickboards
A few tips for LED installations:
- Don’t position your LED tape too close to a wall, or else you may see lighting-dotting.
- If possible, try to position your LEDs behind a lip, in order to hide the LED light source.
- Be careful of the floor surface that the lights are going to fall on. Shining LED strip lights onto reflective floor tiles can create a reflection, which can sometimes be less attractive than a smooth wash effect. (If this is a problem, you should consider using our deep surface extrusions or tube surface extrusions, which will diffuse the LEDs’ light so it appears like a continuous light-bar rather than a line of dots.)
- For the very best effect, stick the LED tape behind a lip at the front edge of your plinth or kickboard, facing downwards.
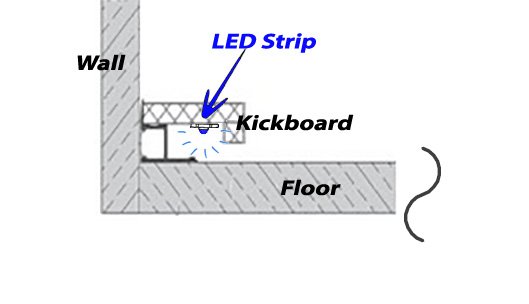
fig 5 – kickboard & plinth LED placement
How to install LED strip lights under kitchen cabinets and bathroom cabinets
By installing LED strips under your kitchen cabinets, you can create striking feature-light effects or more powerful task light for when you’re cooking.
As with other location, the best effect will be achieved if you can place your LEDs behind a lip (fig 6). But if you don’t have a lip on the cabinet, then a typical cabinet is usually deep enough to let you place the LEDs further back, out of sight (fig 7).
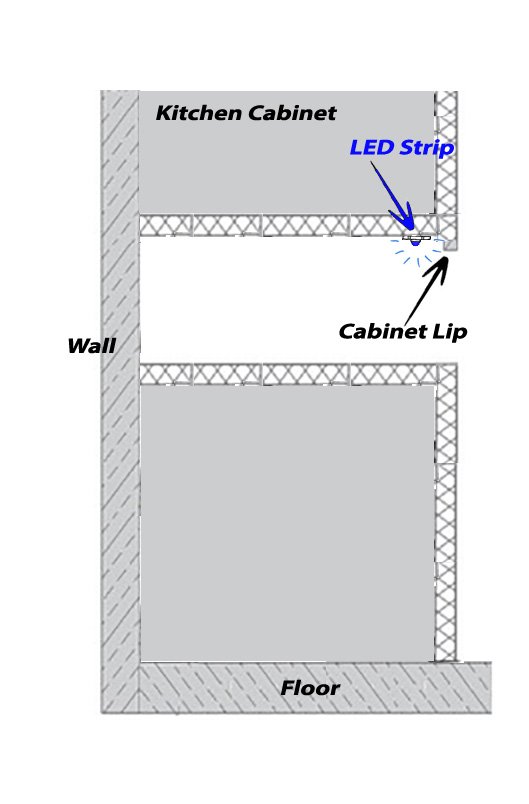
fig 6 – LEDs under cabinet with lip
Either way, LEDs produce a wide beam of 120 degrees that will shine all the way to the back and front of your cabinet.
If your work-surface is shiny, be careful of unwanted reflections. If required, you can use extrusions to diffuse your LEDs’ dotting effect.
fig 7 – LEDs under cabinet with no lip
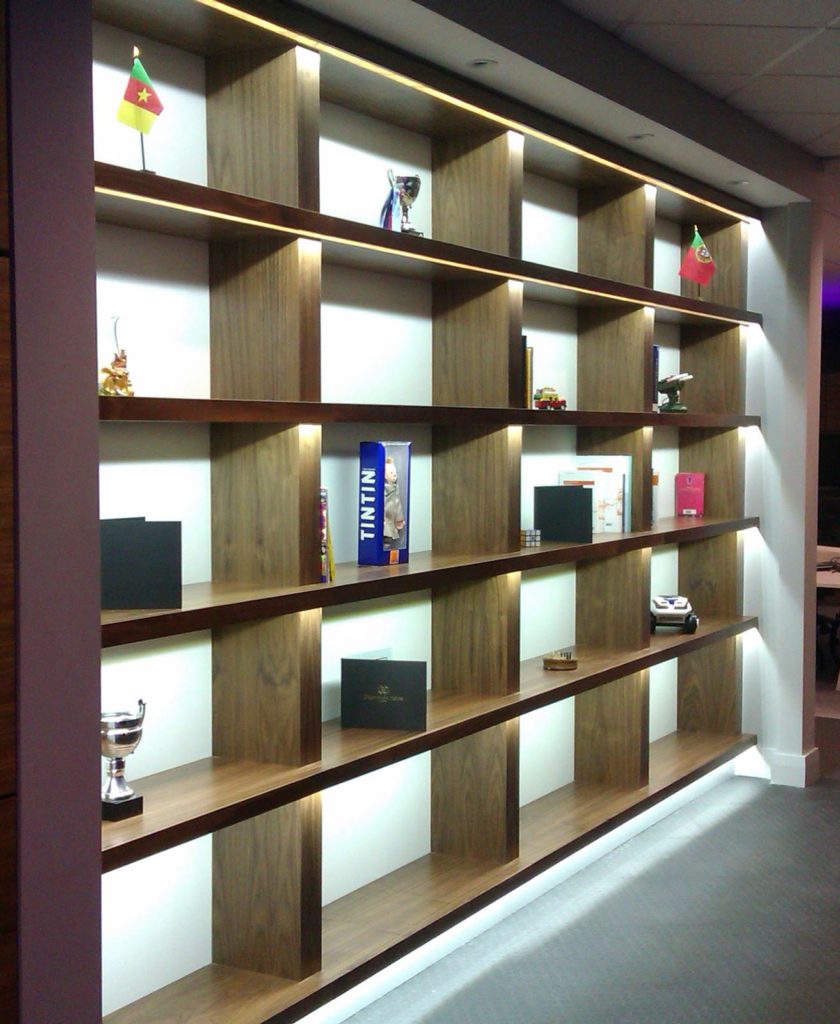
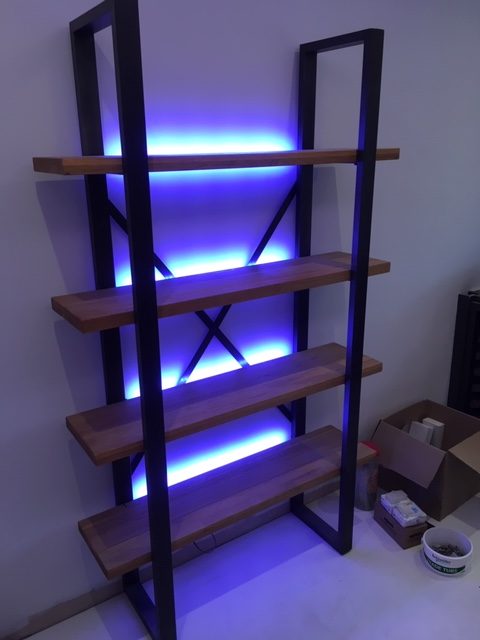
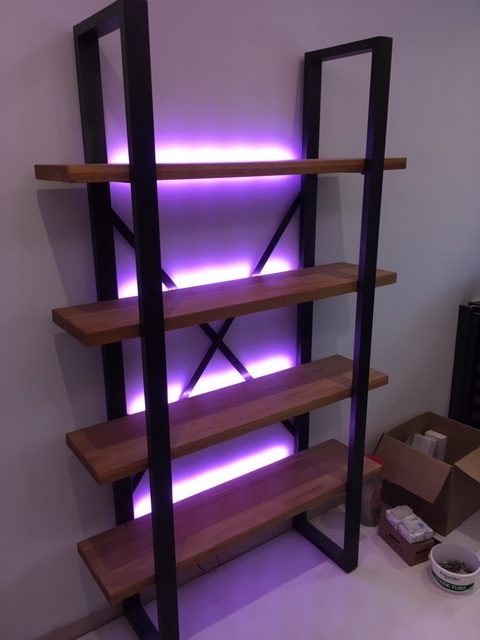
How to install LED highlighting on bookcases or shelving
With a little imagination, LED strip lighting can transform a bookcase or other shelving into a brilliant feature.
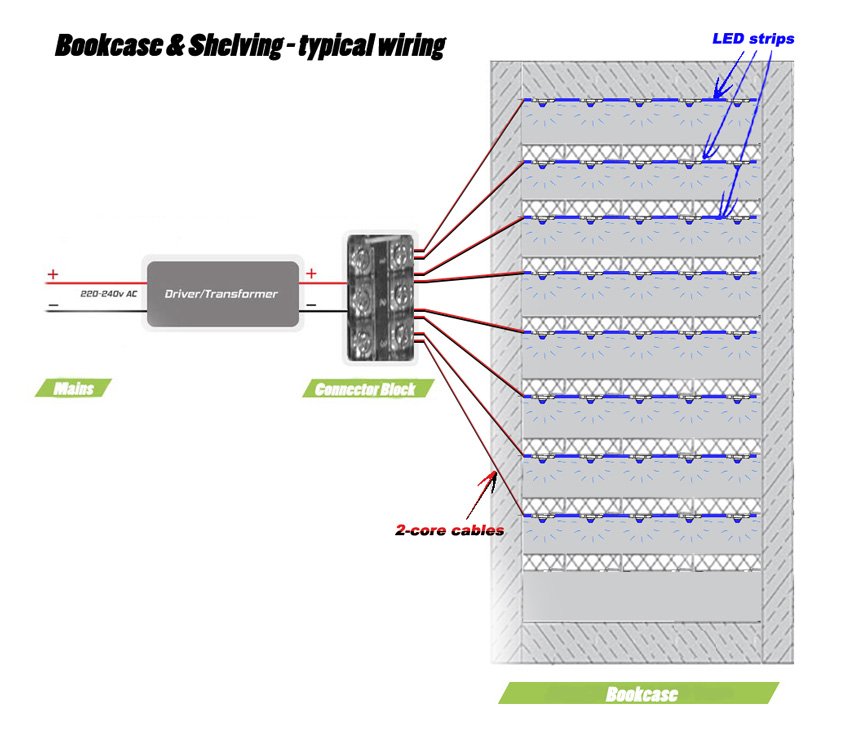
fig 8 – typical LED wiring for bookcases
The best effect is usually achieved by fixing your LED strips to provide downlight (i.e., installed facing downwards on the underside of your shelves). As with cabinet projects (fig 6 and fig 7 above), be sure to position the LED strips behind a lip, or if there is no lip then the strips should be placed further back, so they are out of sight.
The typical wiring solution for most bookcase/shelving projects is to use an electrical connector block. This splits the power feed from the LED transformer, in order to provide multiple parallel feeds to each LED strip (fig 8).
For more information on connector-blocks, see our connecting LED tapes support page.
Alternatively, LED strips can be serially connected, using flexible connections hidden out of sight. InStyle can solder these connections for you before delivery, or if you prefer you can fit your own connections by using our clip-on LED tape flexible connectors.
NB Connecting too many shelving LED strips in serial can cause voltage drop, which may result in your LEDs appearing dim and underpowered. To avoid voltage drop, we recommend that no run of LED tape should exceed 6 metres. This may require splitting your shelving lights into more than one run (as shown in fig 9).
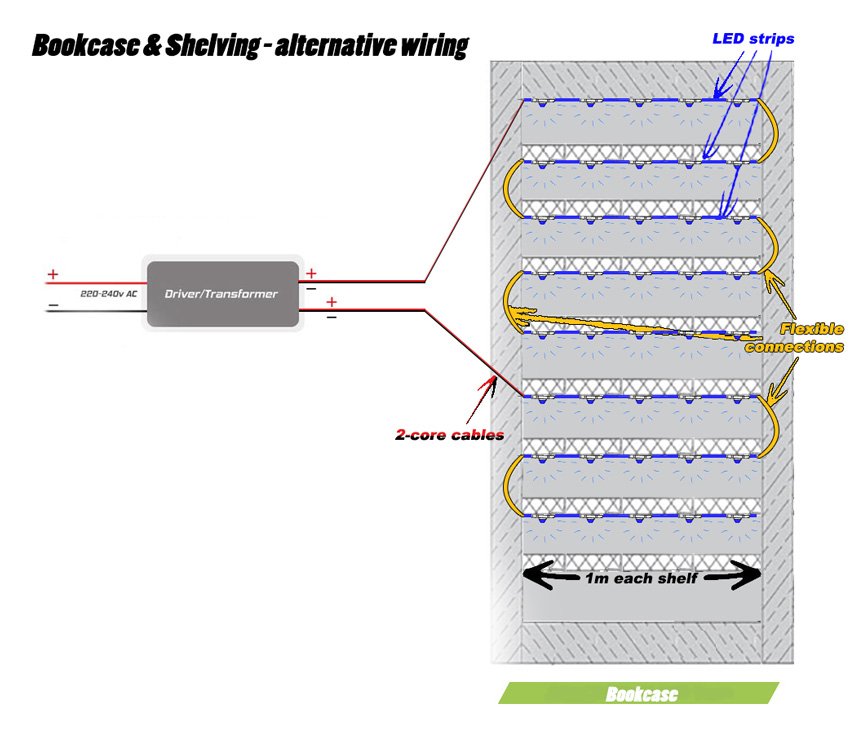
fig 9 – alternative LED wiring for bookcases